You’re in the middle of an executive presentation, tooting your TCO horn about the money that has been saved by moving to the cloud/hosted, then you click the remote desktop connection you swear you minimized 10 seconds ago and…
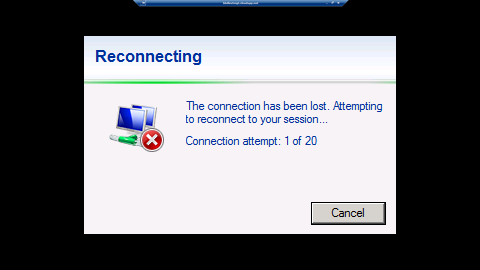
Why is this happening?
Network connections into your hosting company travels through security and availability infrastructure just like you would find inside any enterprise-class cloud provider. There are firewalls, load balancers, and filtering routers. And although many of these are implemented as software appliances (as opposed to physical, dedicated devices), network traffic is subject to the same baseline rules that every datacenter has to implement to be efficient at scale, such as rules that deal with idle TCP connections. Let’s dig into our specific issue by drawing a high-level picture of our remote desktop connection to a virtual machine within your hosting company:
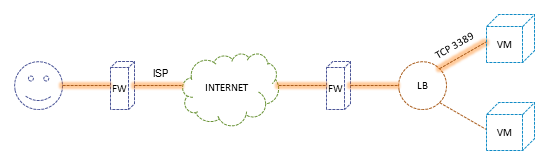
Within your hosting company, load balancers are configured to close TCP connections if they remain idle for more than a few minutes. The term ‘idle’ is fairly subjective, but in the context of remote desktop connections if no activity is generated at the remote desktop client (such as keyboard or mouse input), the connection appears idle and will eventually be closed.

How do we fix it?
There is a feature in Remote Desktop Services that when enabled, sends a keep-alive packet from the server to the client at a specified interval. If the client responds, the server keeps the client status as active, and the traffic created by the keep-alive packets themselves resets the idle timer within the load balancer. As long as the client continues to respond, the server will continue to send the keep-alive messages and the connection will remain open. You can use the following 3 steps to enable the keep-alive feature.
Step 1 – Enable and apply the Configure keep-alive connection interval group policy.
- Connect to a domain controller using Remote Desktop Connection
- Start > Administrative Tools > Group Policy Management
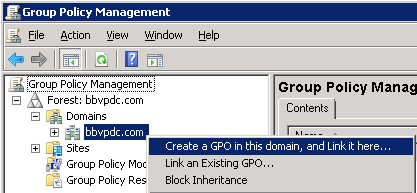
- Expand Forest > Domains, then right-click on the desired domain
- Select Create a GPO in this domain, and Link it here…
- In the name field, type Remote Desktop Services – Keep Alive
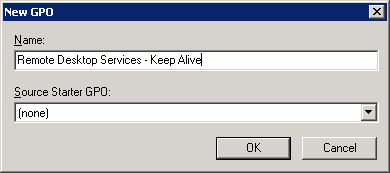
- Click OK
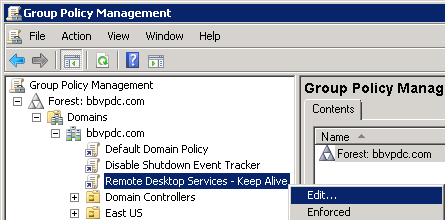
- In the left pane, right-click Remote Desktop Services – Keep Alive > Edit
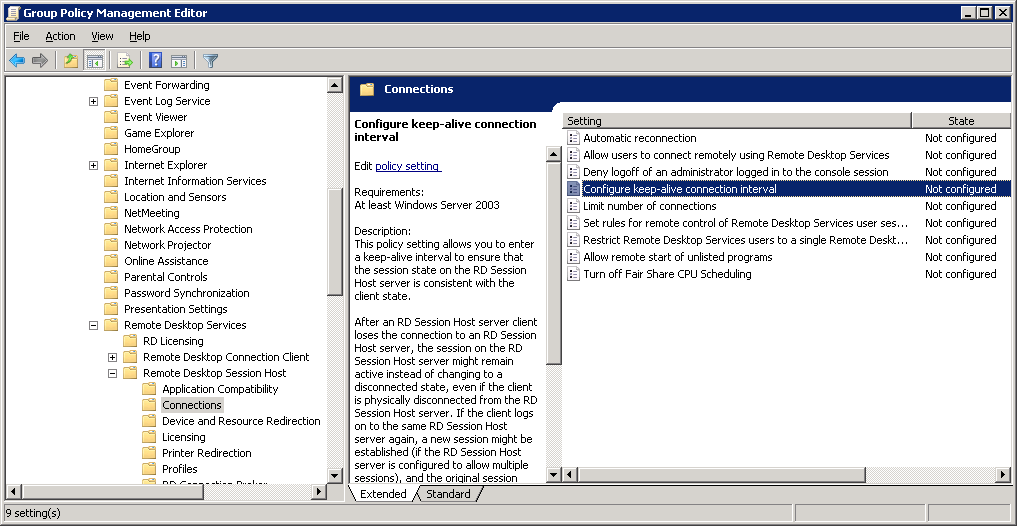
- In the new Group Policy Management Editor window, expand Computer Configuration > Policies > Administrative Templates > Windows Components > Remote Desktop Services > Remote Desktop Session Host > Connection
- Locate and double-click the setting called Configure keep-alive connection interval
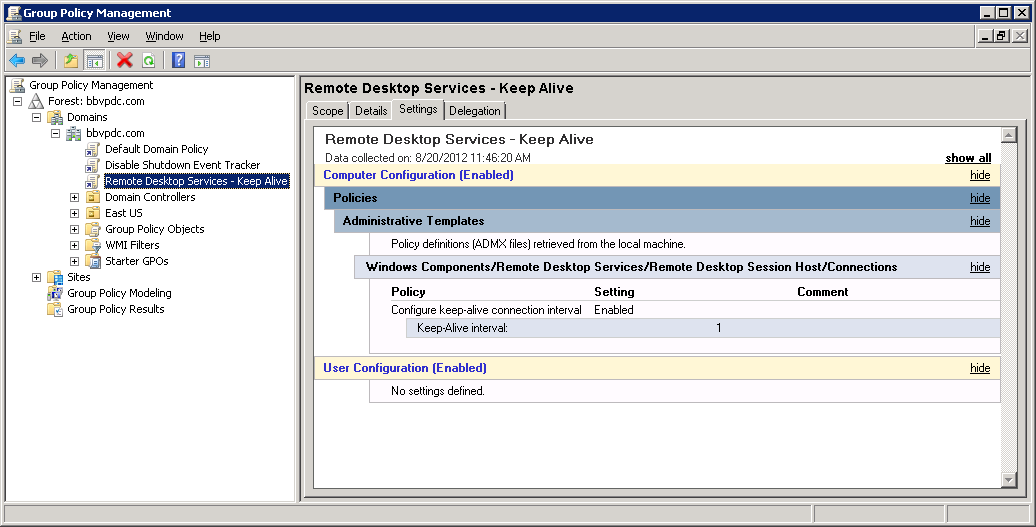
- In the Configure keep-alive connection interval dialog, select Enabled and set the Keep-Alive interval to 1 (default).
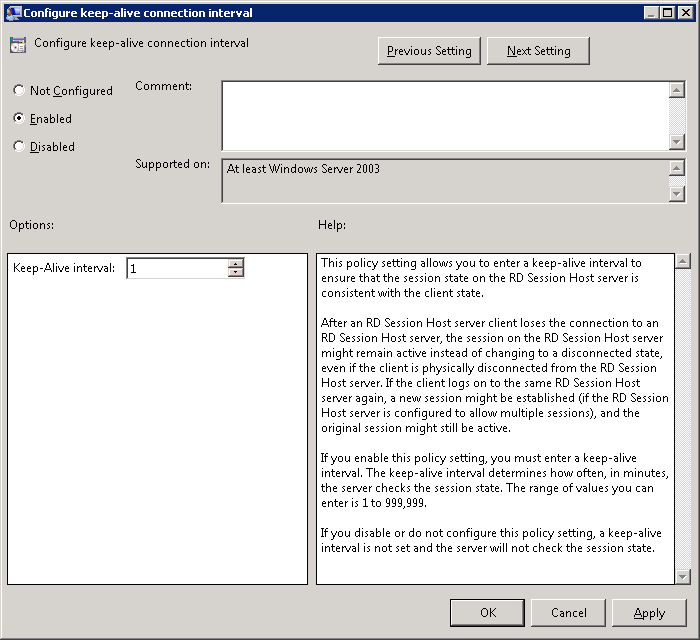
- Click OK
- Click File > Exit to close the Group Policy Management Editor
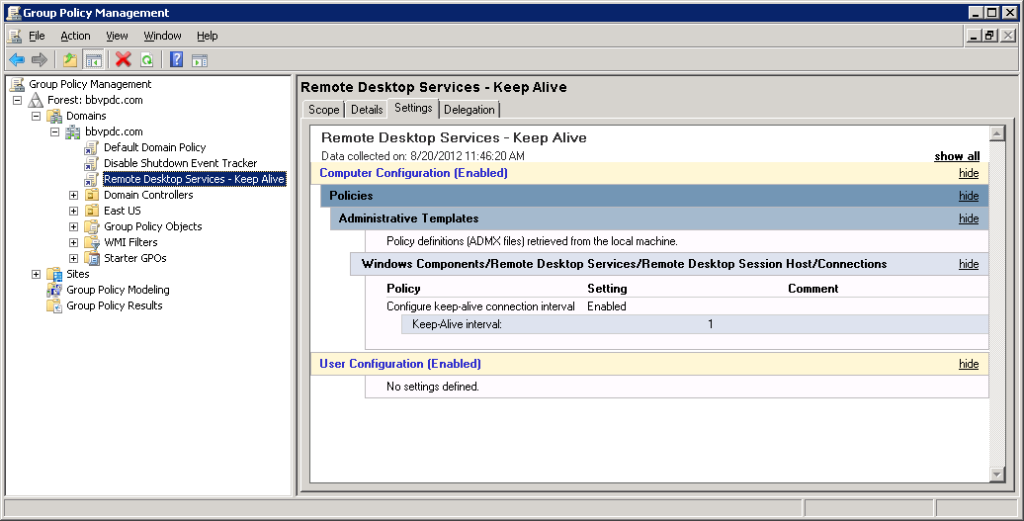
- Verify the setting by selecting Remote Desktop Services – Keep Alive in the left pane, then click show all in the right pane
Step 2 – Refresh Group Policy on each Remote Desktop Session Host
- Connect to the Remote Desktop Session Host using Remote Desktop Connection
- Start > All Programs > Accessories > Command Prompt
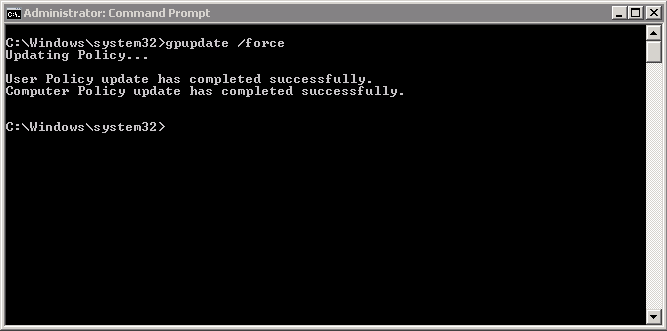
- In the Command Prompt window, type gpupdate /force to refresh policies.
- Restart the server. This will ensure that the Remote Desktop Session Host service starts with the new settings.
That is all. Happy RDP/RDS ‘ing.