Last year about this time I design to completely rebuild my home lab. After ready about many home labs I decided to use the Wahl network Haswell Design.
Processor
I wanted the new 4th generation Haswell chip, which is the latest Tock release for Intel in the 22nm fabrication process. The Haswell chipset requires a motherboard with the LGA 1150 socket .
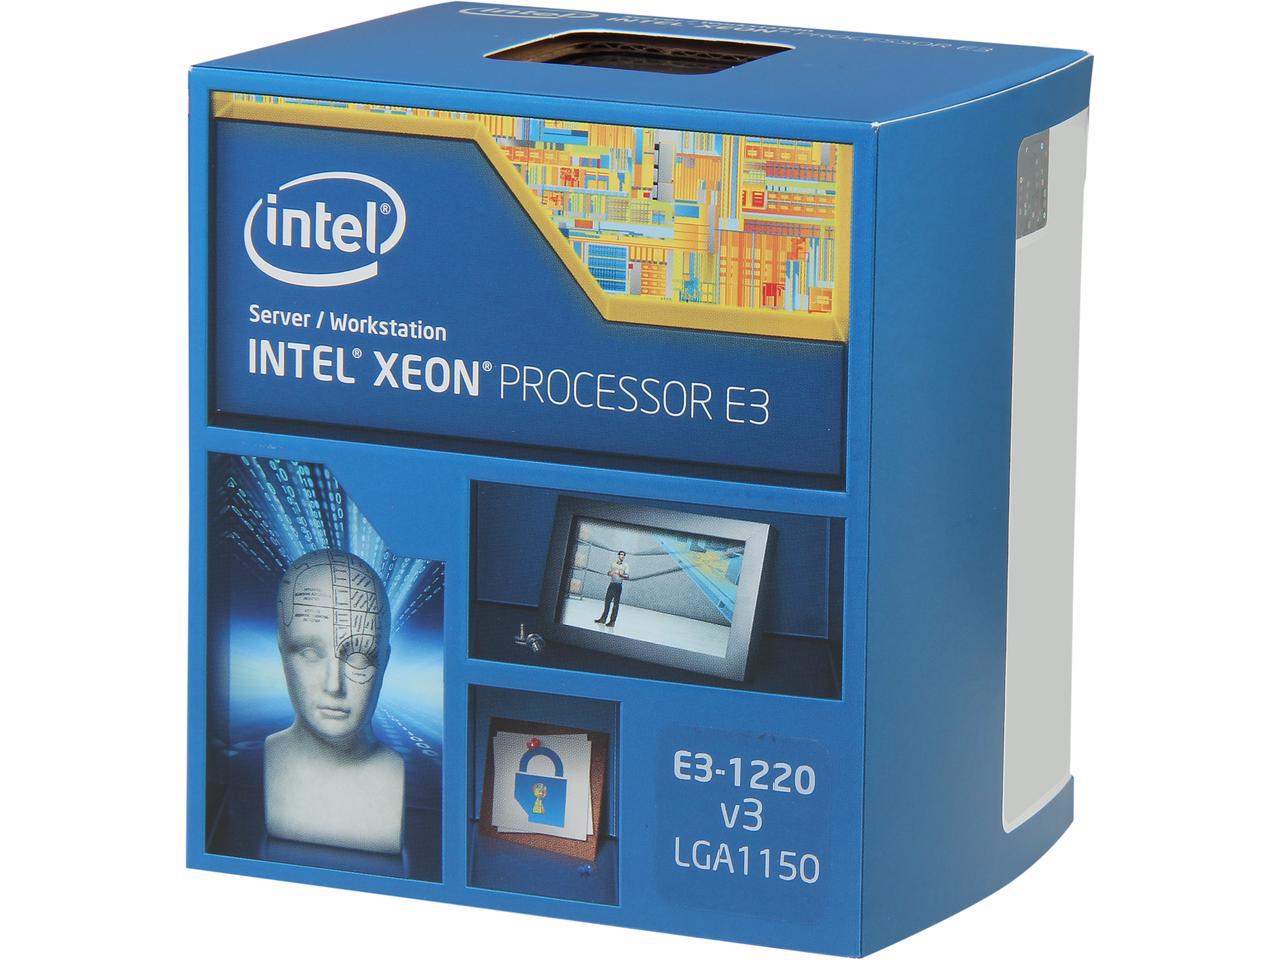
I was on a budget crunch at the time so to choose the Xeon E3-1220v3, it runs 4 cores and 4 threads. This CPU includes support for the entire range of advanced technologies – vPro, VT-x, VT-d, EPT, TET, etc.
- Intel Xeon E3-1220V3 Haswell Processor
Motherboard
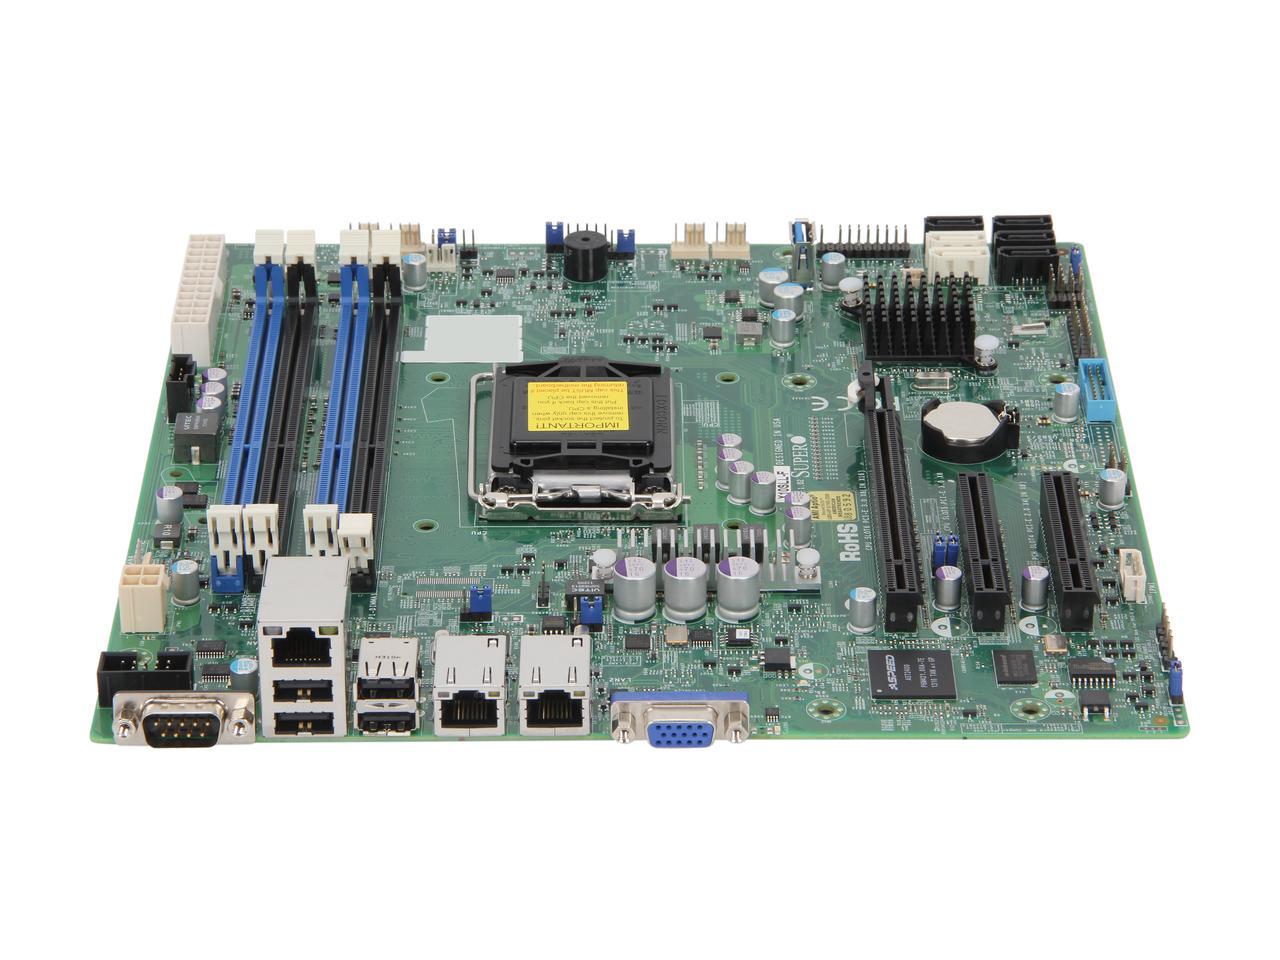
I have no desire to deviate from SuperMicro server boards, mainly due to the superb IPMI with remote KVM. These are requirements for
my home lab, mainly because I do not have room for an extra monitor with keyboard and mouse, and KVM equipment. I chose to go with the SuperMicroMBD-X10SLL-F-O.
- Supermicro MBD-X10SLL-F-O
Memory
The processor maxes out at 32 GB of ECC Unregistered DIMMs (UDIMMs).
When I purchased memory prices had skyrocketed. Shop around for a great deal on 4 sticks of 8 GB memory (commonly just called 4×8) of ECC UDIMM at 1600 MHz.
I purchased the 32GB kit below
-
32GB KIT OF 4 1600MHZ DDR3 ECC (lifetime warranty)
Other Components
I run diskless setup for my ESXi hosts. I use a small profile USB stick. Here’s a few of the other items necessary to complete the build
- USB Stick – 16 GB SanDisk Cruzer model SDCZ33-016G-B35
- Case – Lian Li model PC-V351
- Fans – 2x Scythe 120mm Slipstream model SY1225SL12L
- Power – SeaSonic Platinum model SS-400FL2