In this blog post I will be upgrading and migrating a Windows vCenter 6.0 deployment to a vCenter Server 6.5 Appliance.
Before you Start:
- You will need computer not counting your Windows vCenter server
- Ensure you have the SSO password for your Windows vCenter
- If you are going to deploy the VCSA on a ESXi server make sure it has a Standard Switch port group that can talk on the same IP as your existing vCenter
- Take a snapshot of your Windows vCenter VM before you begin
- Rename your Windows vCenter VM when the migration has completed
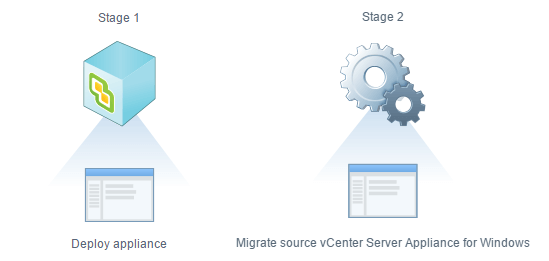
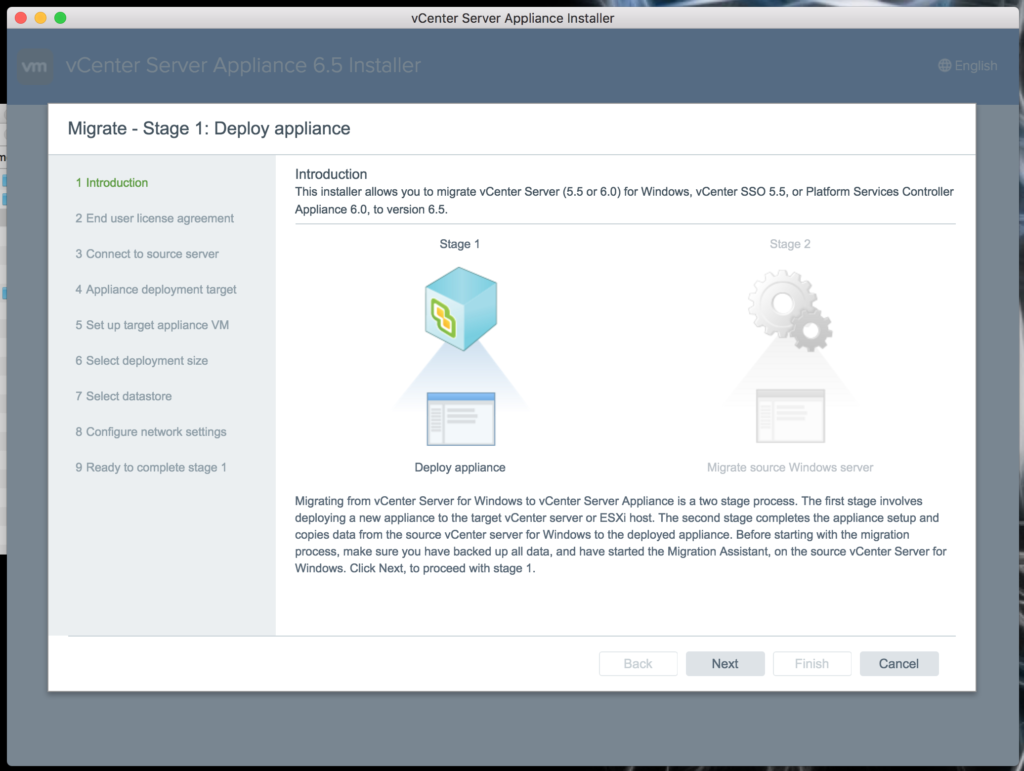
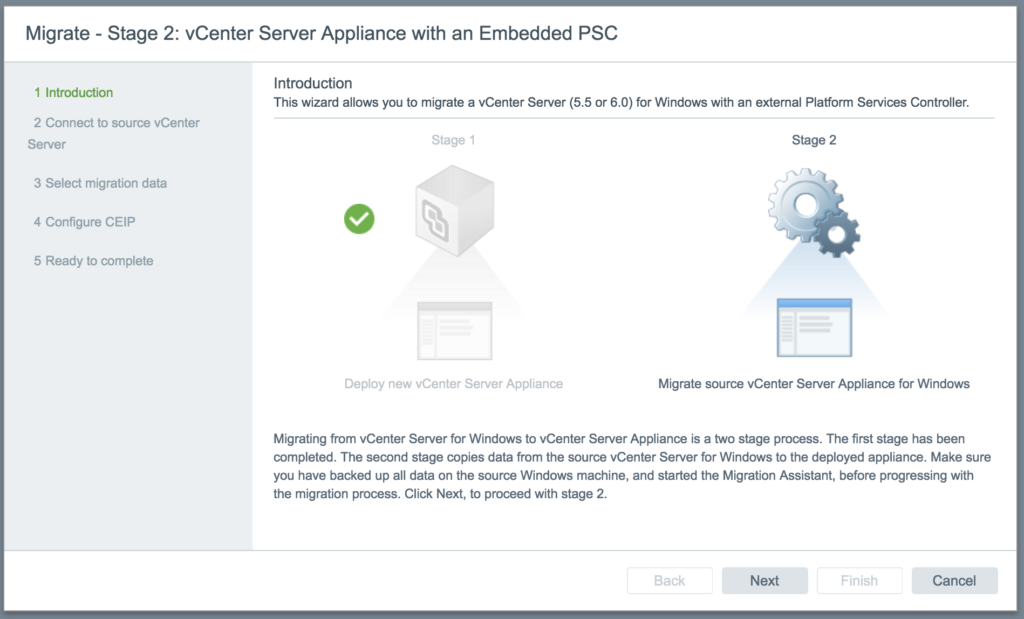
This migration will be a two stage process. The first stage will be to deployment of the VCSA. The second stage will be to migration of the Windows vCenter data to the newly deployed VCSA.
Let’s get started!
On your Windows vCenter Server:
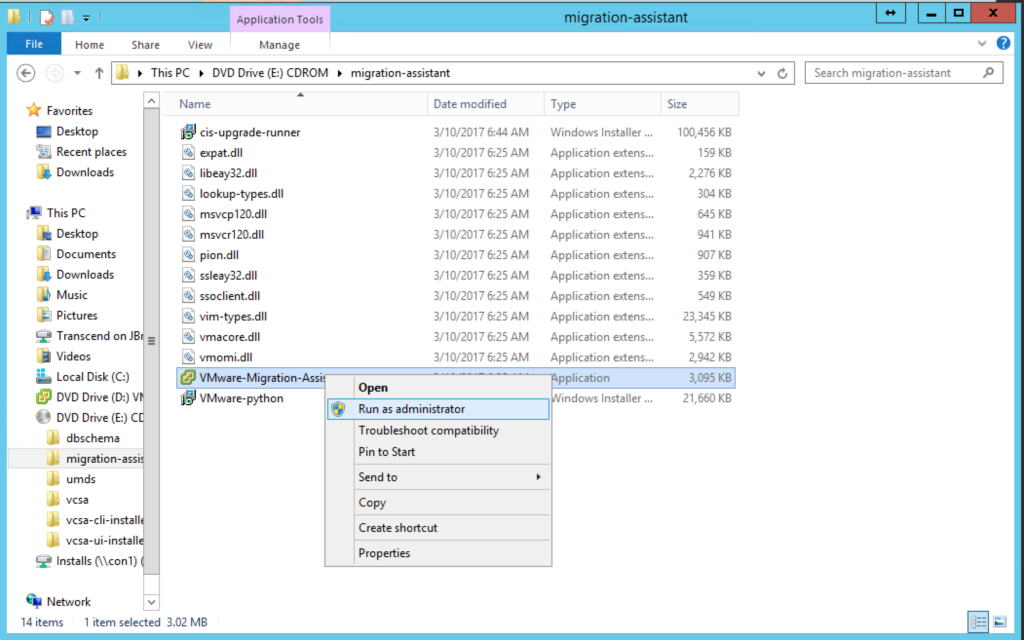
Mount the VCSA 6.5 ISO and navigate to the migration-assistant folder. In there will be an executable called VMware-Migration-Assistant.exe. Right click and select Run as administrator:
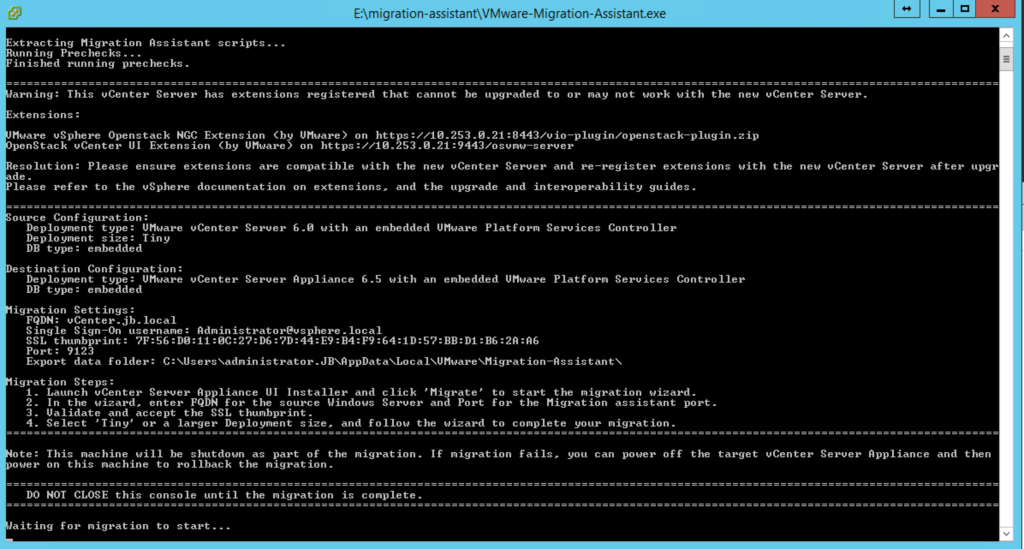
The installer will launch an install window. Enter the SSO password. The Migration Assistant program will run through a migration precheck(s). Once you see Waiting for migration to start you are ready to switch to your computer.
Switch to your computer (Appliance install):
I will be using a MacBook for this install not a PC.
Mount the same VCSA 6.5 .ISO and navigate to the vcsa-ui-installer/mac folder. Inside that folder you will run the installer, double click and the program will start:
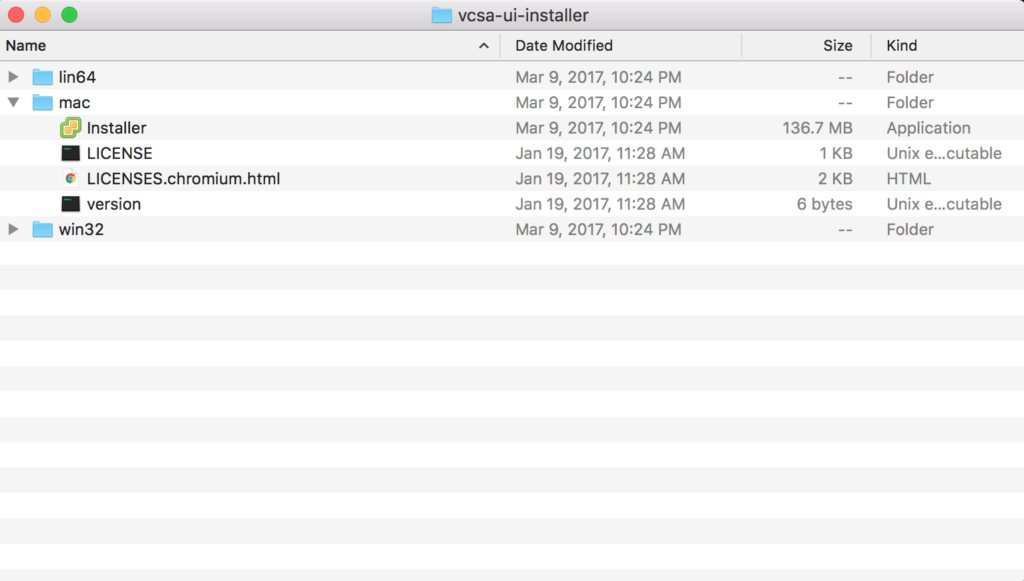
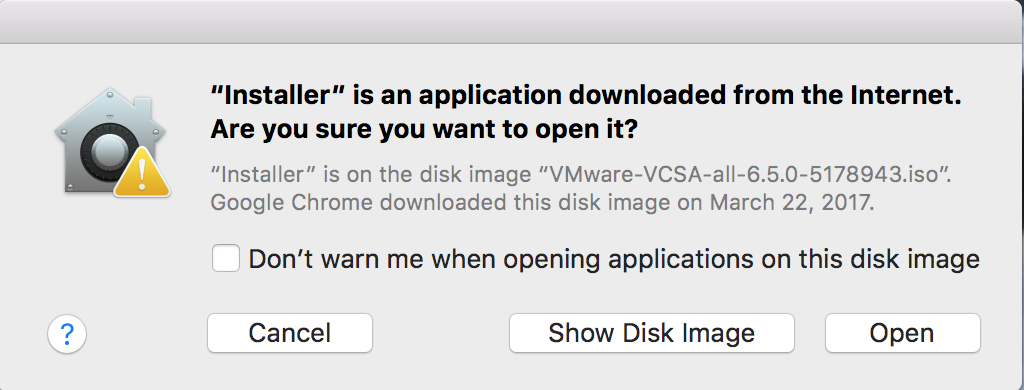
Mac with give a warning if the application was downloaded from the internet. Click open.
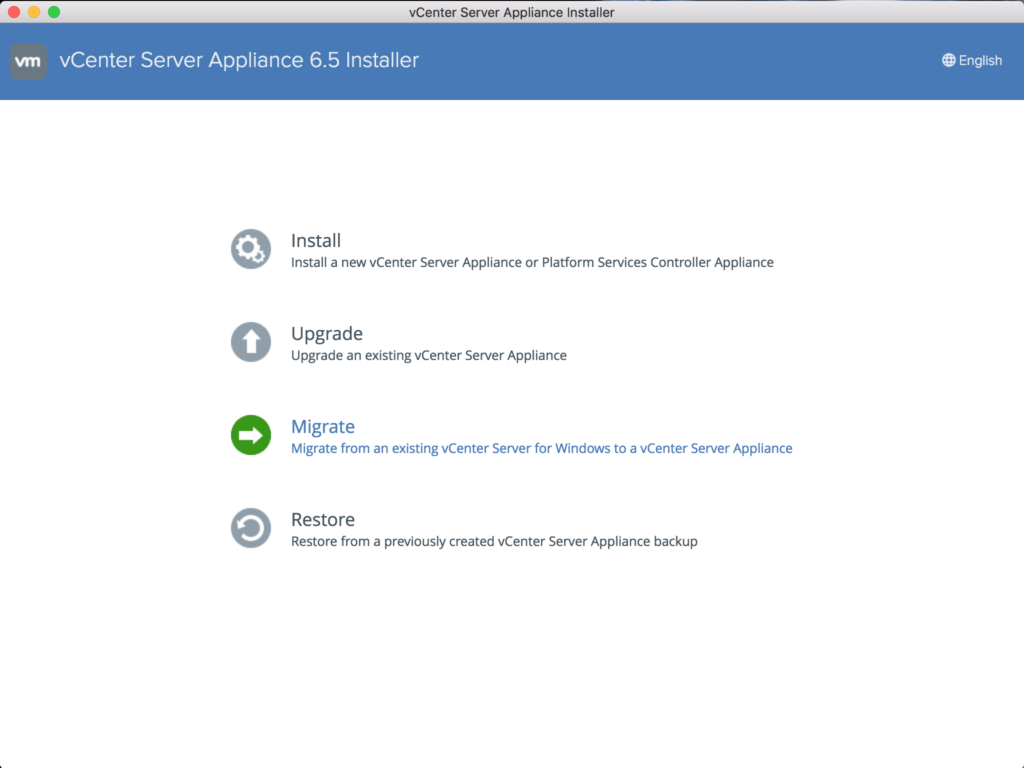
Welcome to the VCSA 6.5 Installer. Since this is a Windows 6.0 migration click the Migrate option:
Stage 1. Click Next:
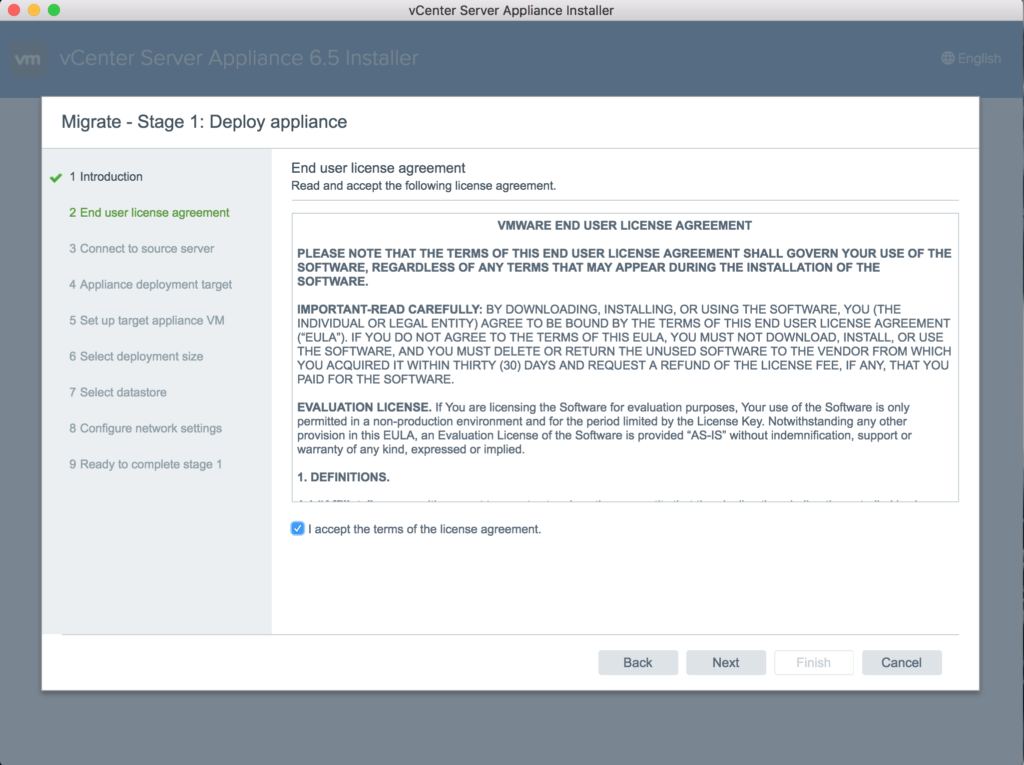
Click Next on the EULA:
Enter your information the click Next:
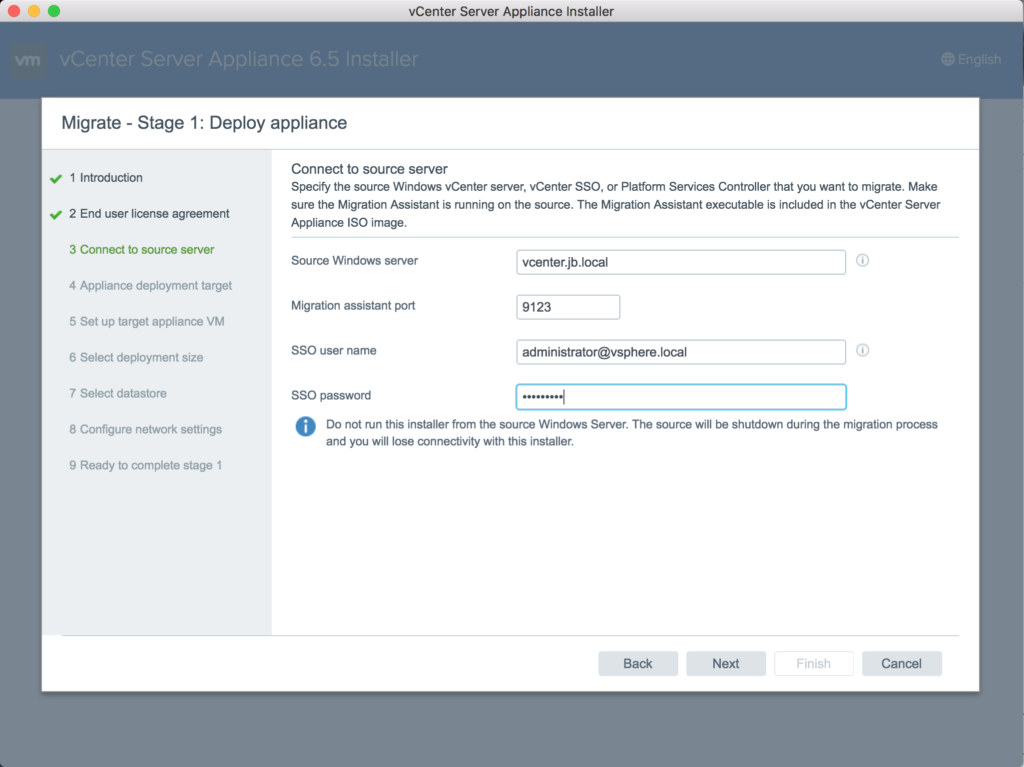
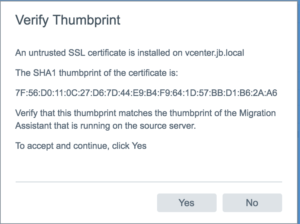
If you are using a self signed certificates you will see this message. Click Yes:
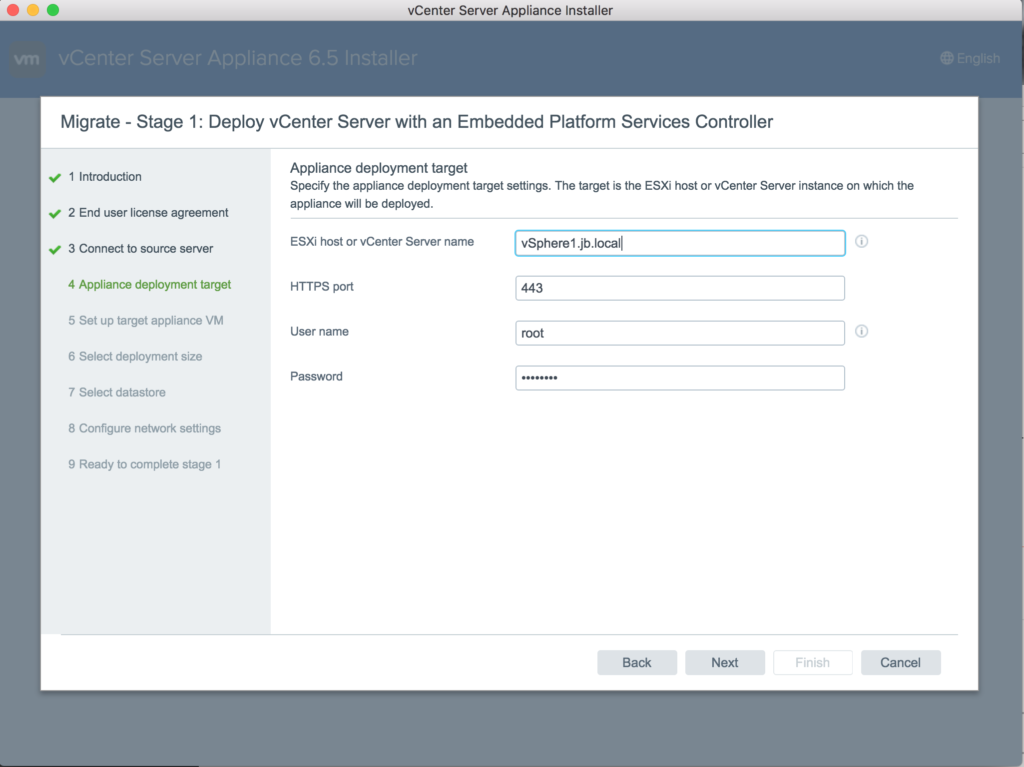
You have the option of selecting a vCenter or an ESXi host for the appliance deployment. I selected to use a ESXi host. Click Next:
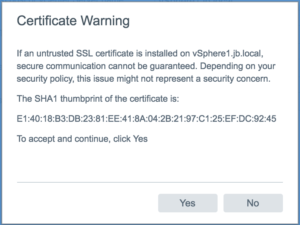
If you have a self signed certificate installed on ESX you will get this error again. Click net:
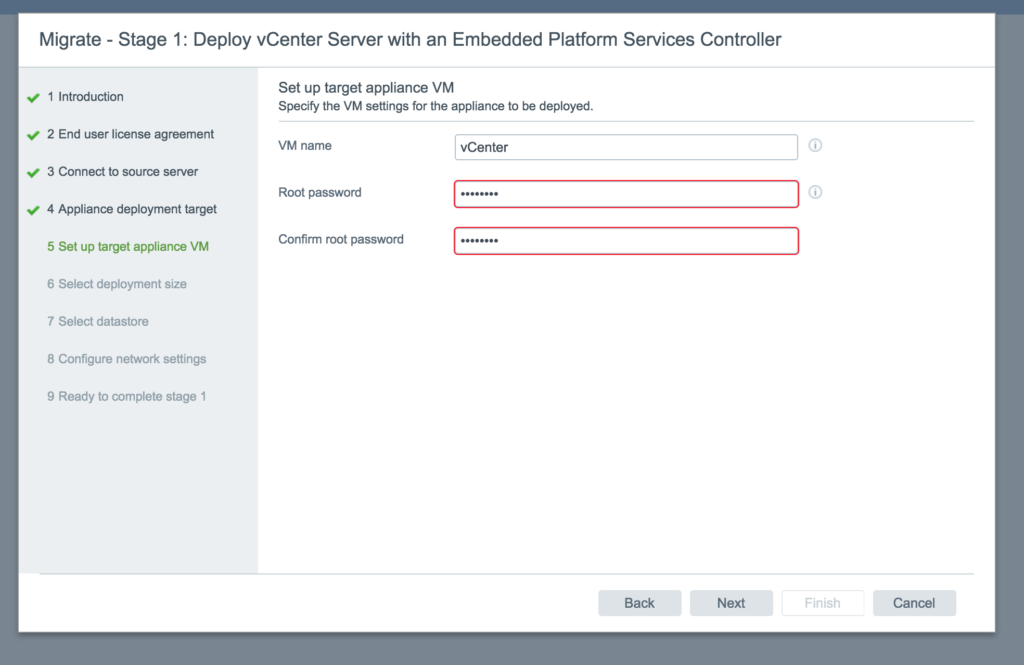
Enter the name for your VCSA virtual machine (as it will appear in vCenter inventory) and assign a Root password. Click Next:
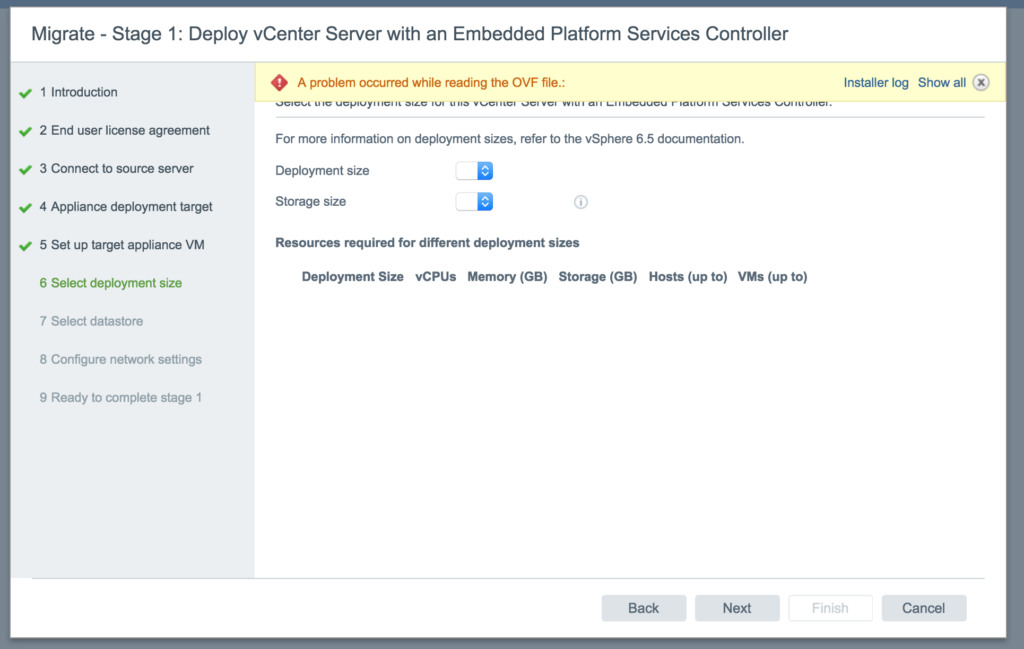
I came across this error in the Mac install. Please follow my blog post here.
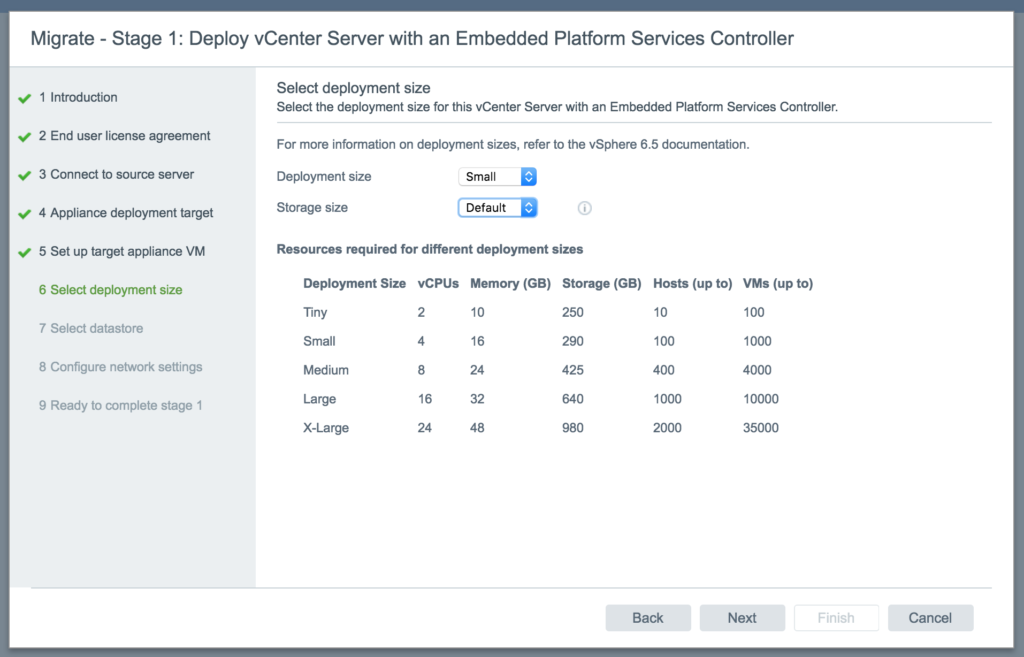
Using the chart in the window, pick a deployment size that is close to your environment. For my deployment, I will select Small. Click Next:
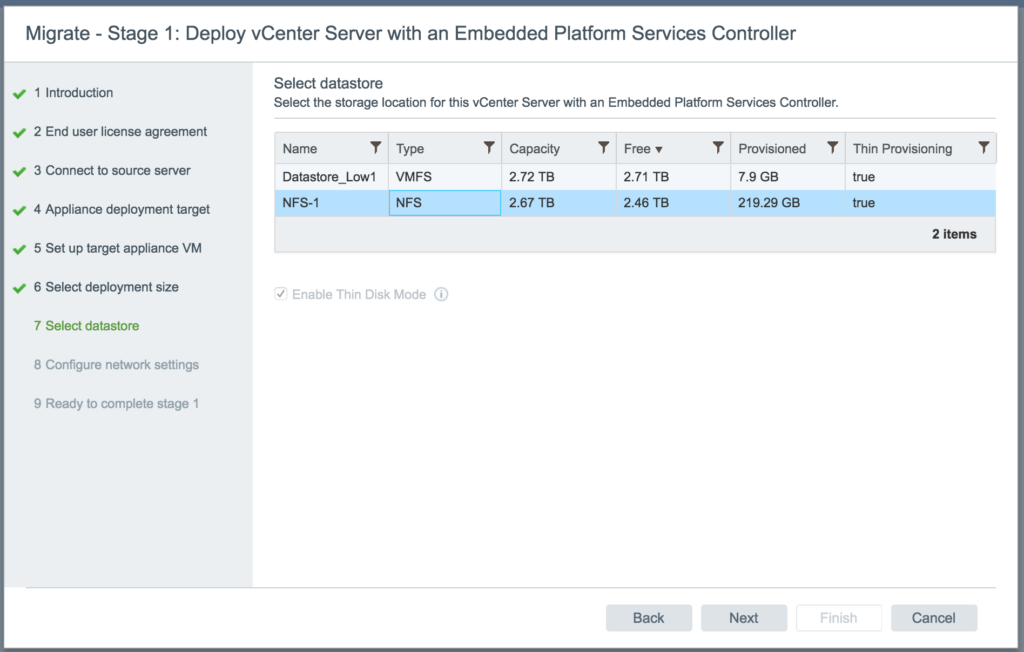
Select a datastore for the VCSA to be deployed on. Click Next:
Pick a port group and enter a temporary IP address the VCSA for the migration. VCSA will only use this IP for the migration and will take the IP address of the source Windows vCenter server once the migration has completed. Click Next:
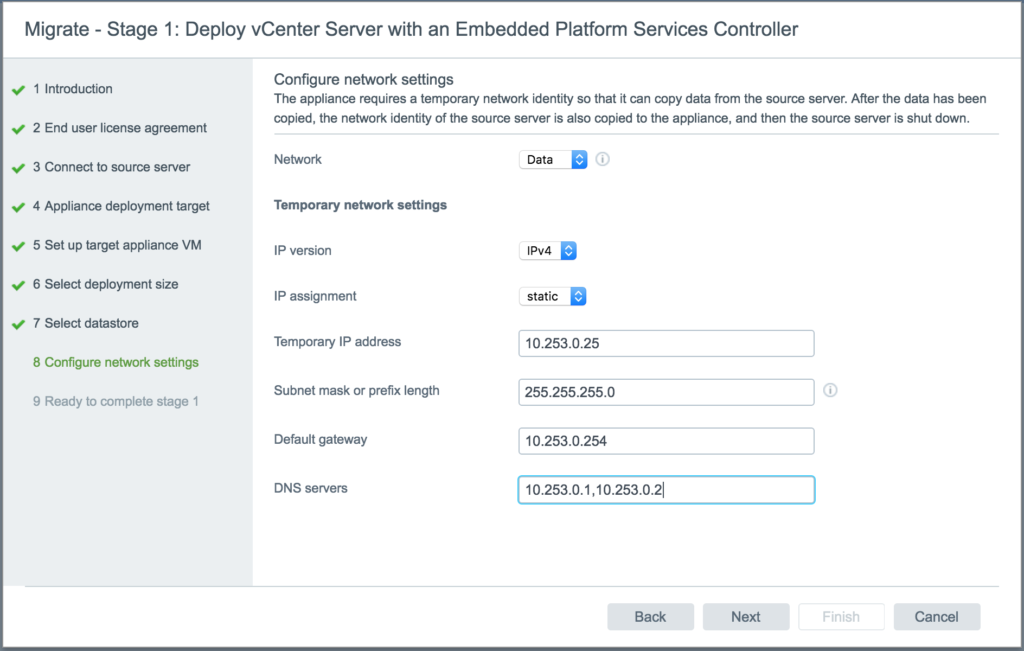
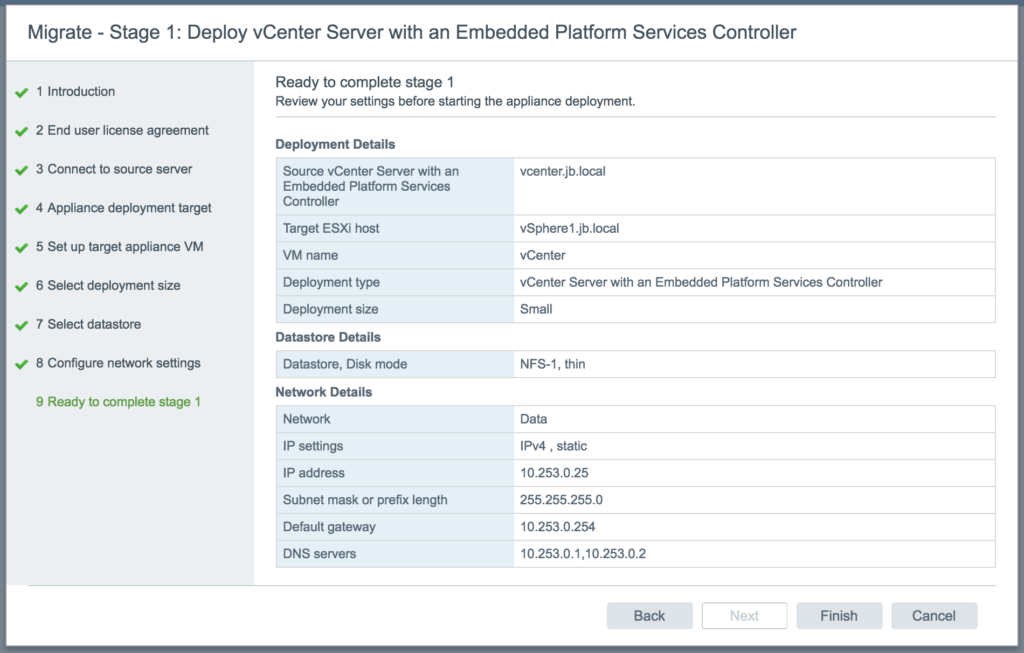
Look through the Summary, and verify everything is correct then click Finish:
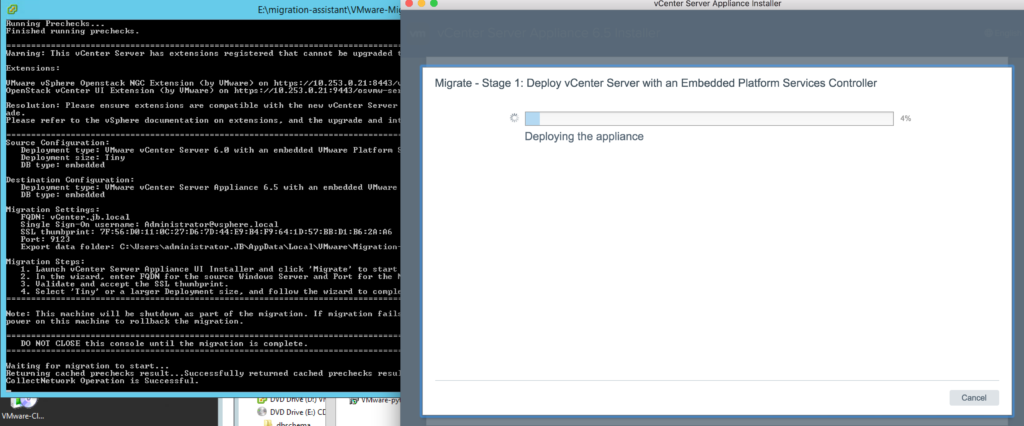
You can watch the console screens of both the Windows vCenter and the VCSA Installer window.
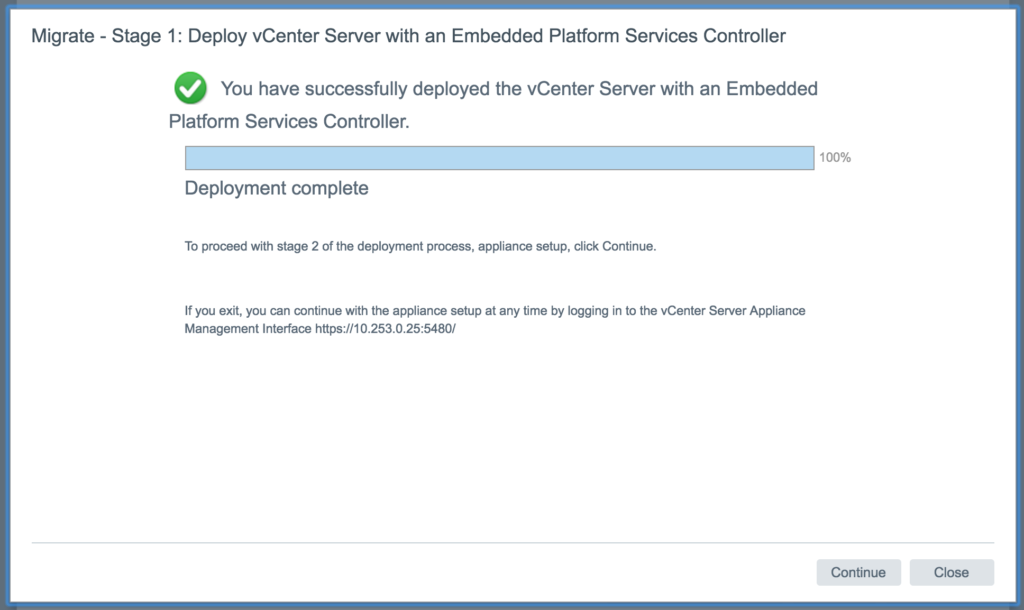
Once the deployment is complete. Click Continue:
Note: If you exit the installed you can continue with the appliance setup by using the URL in the message.
Stage 2
Click Next:
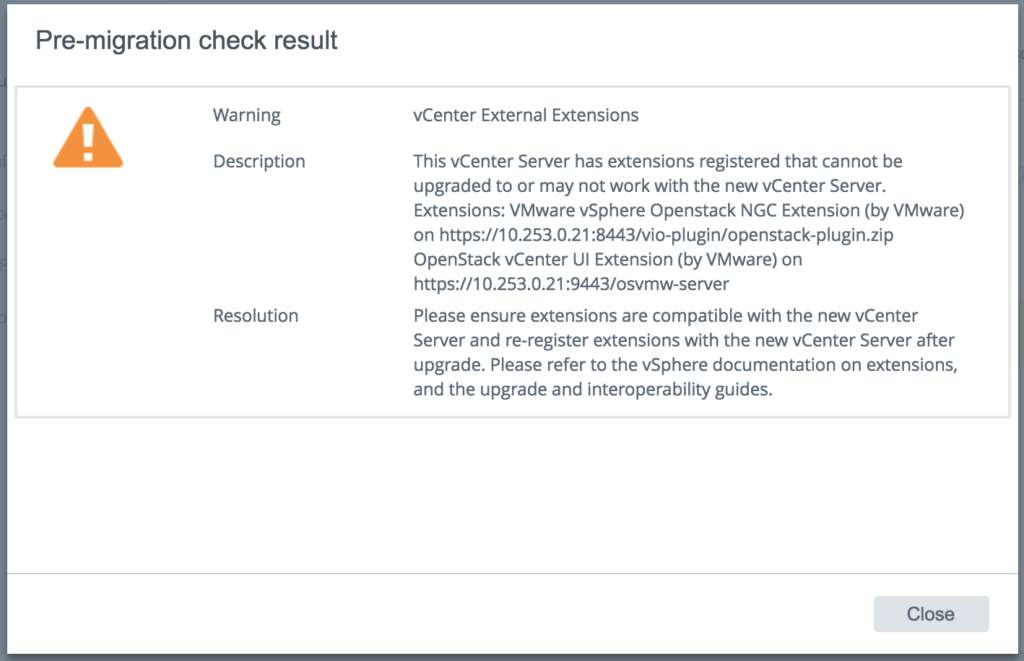
The installer is going to do another pre-migration check. The results show some of the VMware Openstack extensions and files may not be migrated over. Click Close:
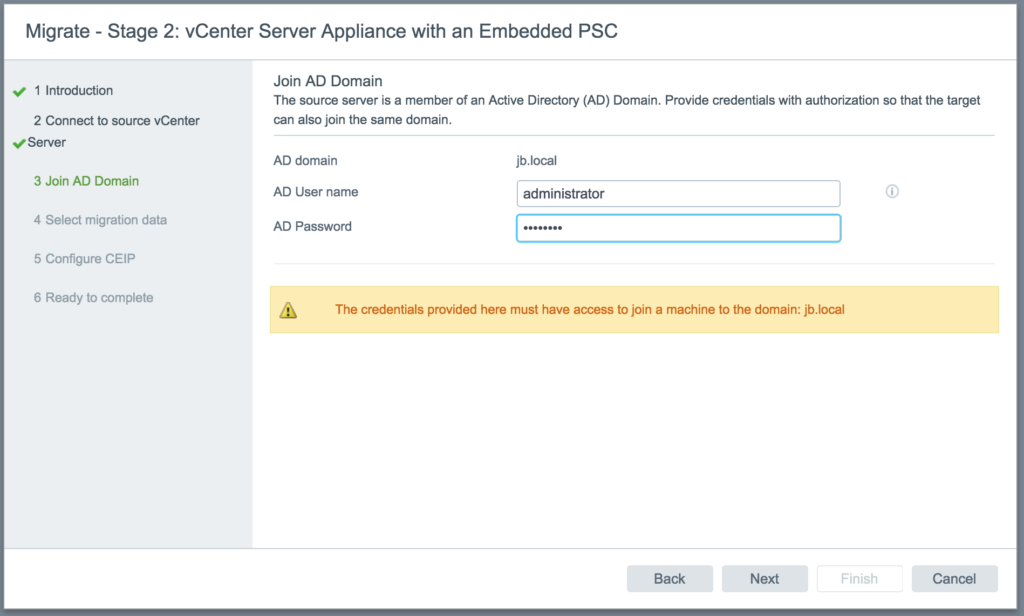
The installer will delete the computer account of the Windows vCenter and join to your domain. Enter an AD account that has the permissions and click Next:
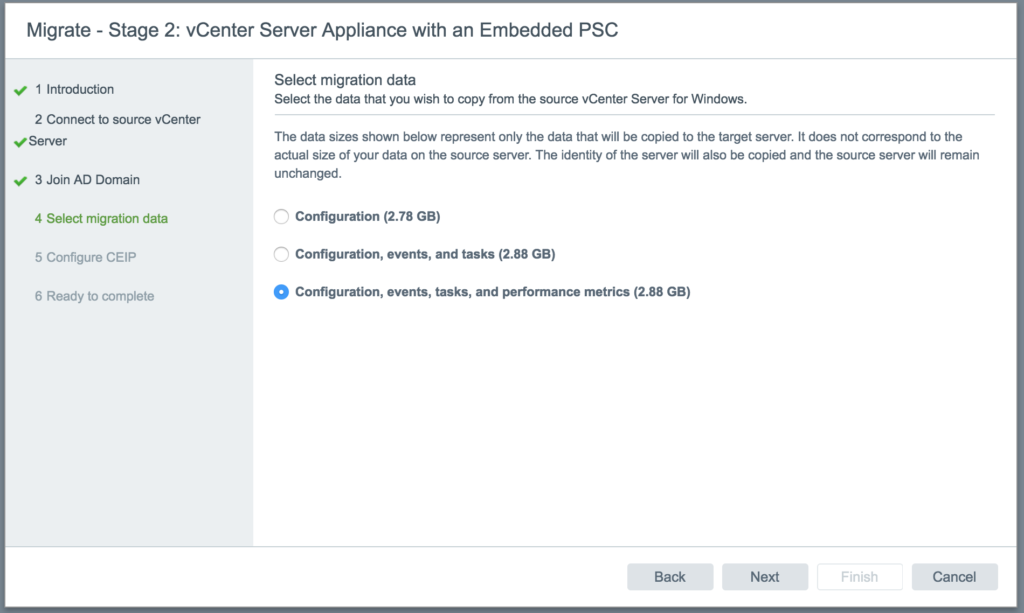
Select the data you want to migrate over. I chose to migrate everything. Once your selection is made click Next:
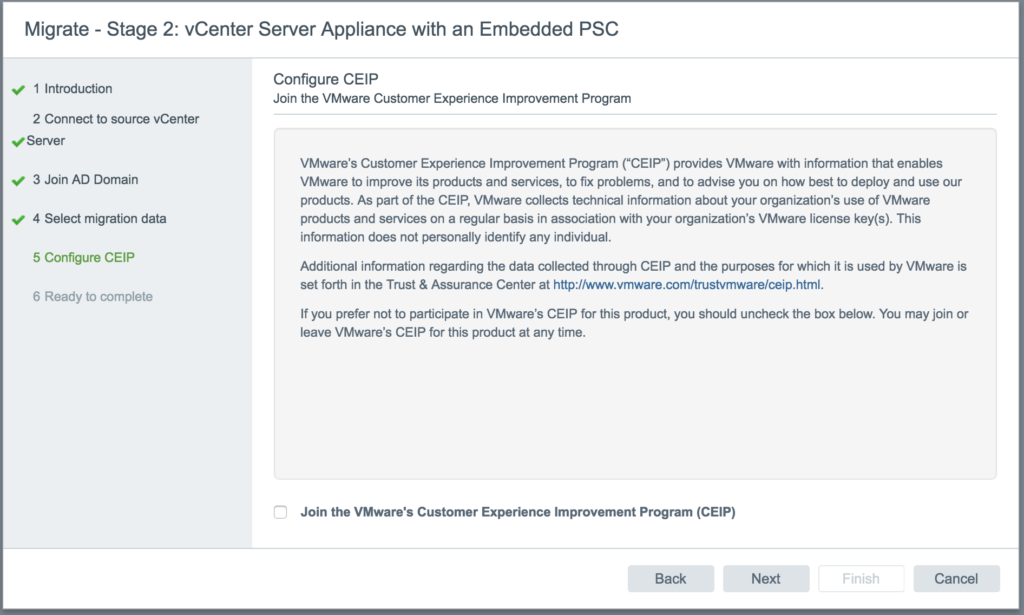
You can join the Customer Experience Improvement Program. I unselected. Click Next:
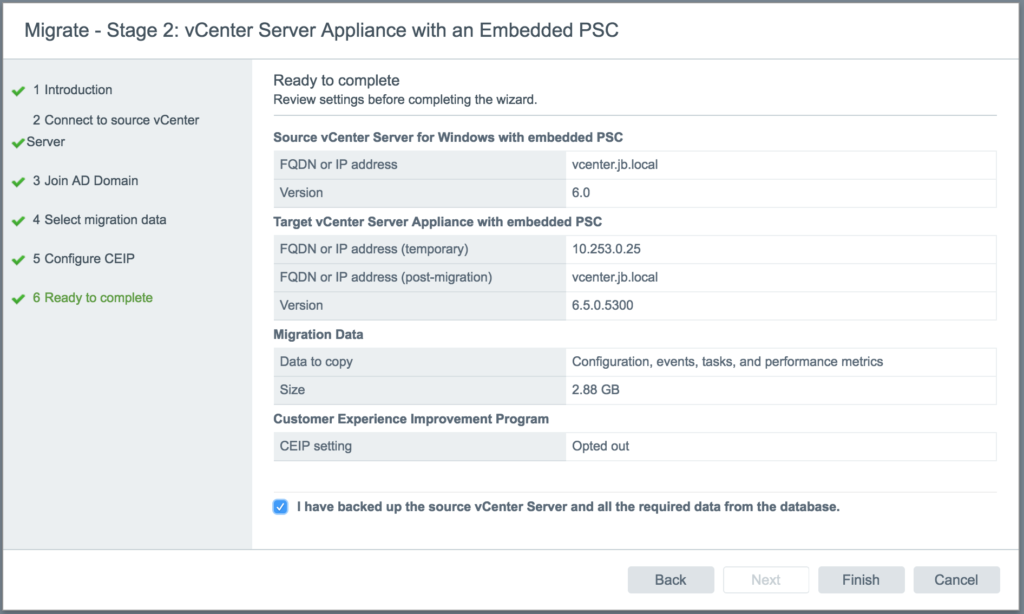
Go over the Summary page, and click Finish:
You must select the check box in order to continue
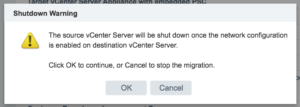
During the data migration the Windows vCenter will be shutdown and the VCSA will be configured with its IP address. Click OK:
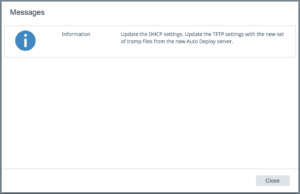
Stage 2 took about 25 minutes. I did get a small pop-up about DHCP. Click Close:
Once it has completed, you should have the below screen with a URL to access the VCSA. Click the link then click Close:
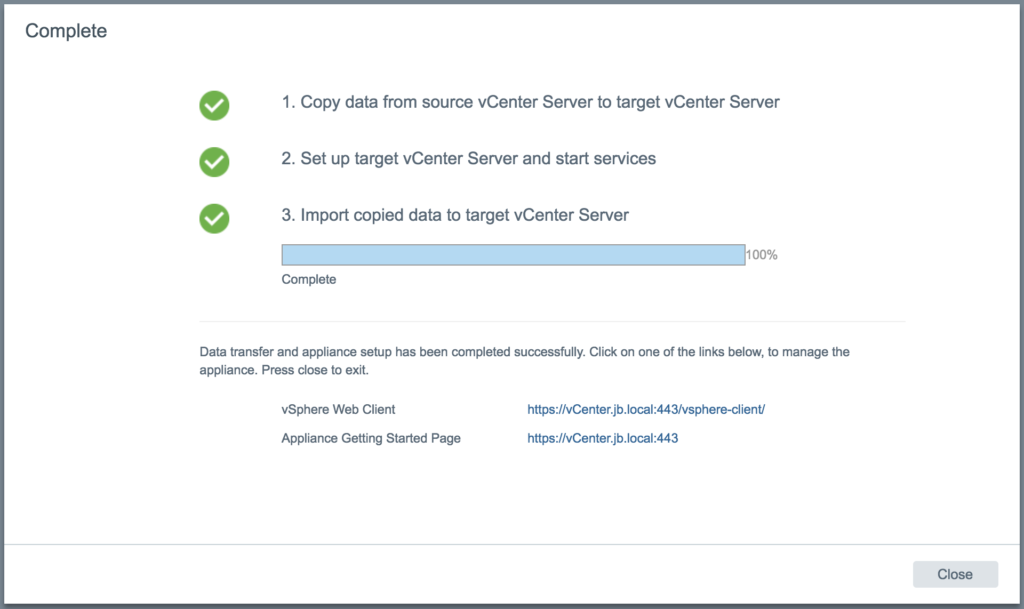
Congratulations! You are now running on the vCenter Server Appliance 6.5!!!