VMware vDS (VMware Distributed switches) Setup
In this post I want to show you the reasons for using vDS if you have an Enterprise Plus license.
First is why…
The vDS only has to be configured once on the vCenter system. With standard switches you have to configure the ports and NICs on every ESXI/vSphere machine. If you only have two machines this would not a huge undertaking. If you have more that four machines this can become time-consuming.
The biggest concern I has been if vCenter is down will this hinder the vDS functionality? I then came across this wonderful article by Duncan Epping on yellow-bricks.com. The title of the blog post was Distributed vSwitches and vCenter outage, what’s the deal? Awesome article. It put all my fears of running a vCenter controller vDS to rest.
The next decision.
Do I run on a single vDS or two vDS? I decided to separate the iSCSI network from the rest of the production network. During my research i found that you can run everything from a single vDS. In the current project I had two separate switch stacks. one for iSCSI, and one for the rest of the management and production network. Looking through VMware whitepapers and best practices there are a couple of words that stood out.
iSCSI storage traffic is transmitted in an encrypted format across the LAN. Therefore, it is considered best
practice to use iSCSI on trusted networks only and to isolate the traffic on separate physical switches or to
leverage a private VLAN.
This comment came out of the Best Practices for Running VMware vSphere on iSCSI.
OK, so now that the reasoning is down I can proceed with the how-to setup vDS.
This was my first setup with vDS and at this time I was more comfortable with the vSphere client software.
Using the vSphere clients software, you need to click on Inventory Networking Add vSphere Distributed switch
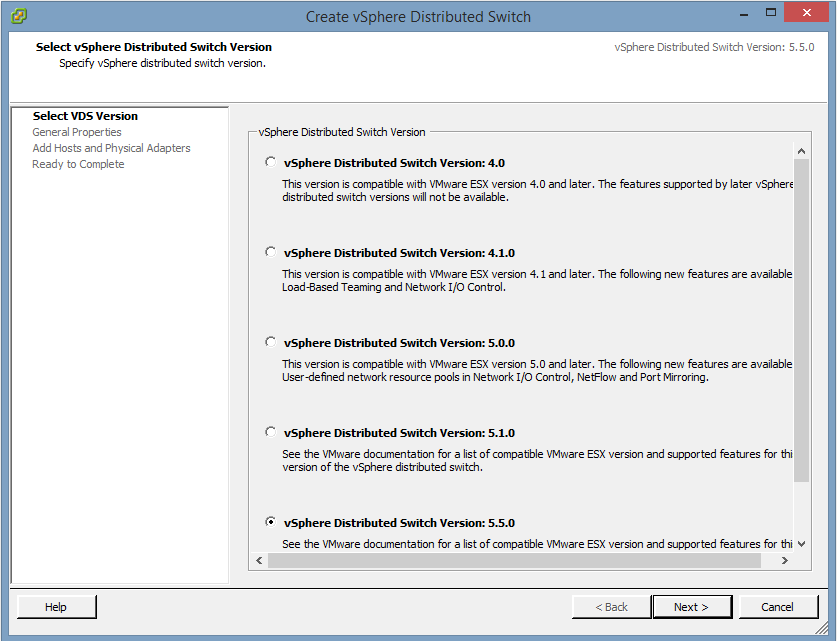
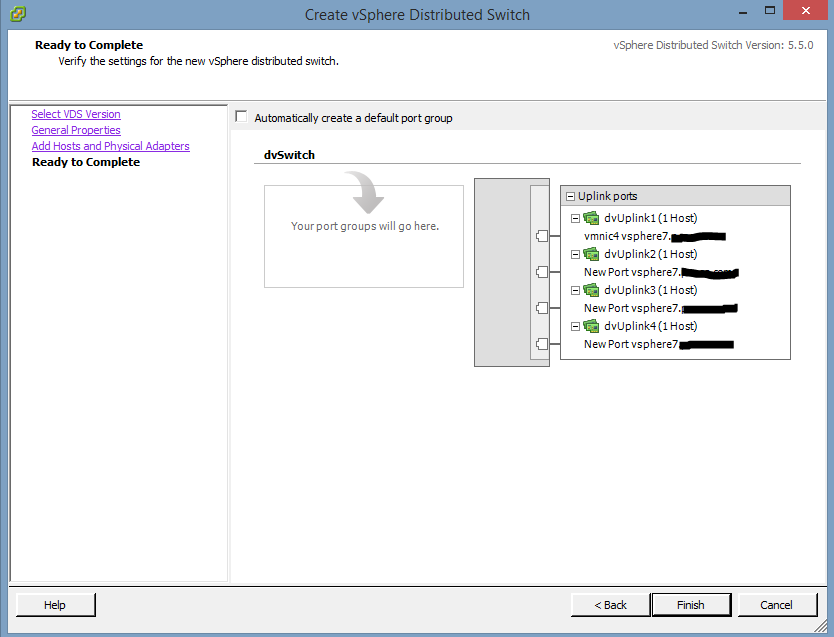
As this is a vSphere 5.5 install I went with the 5.5.0 version switch, click Next
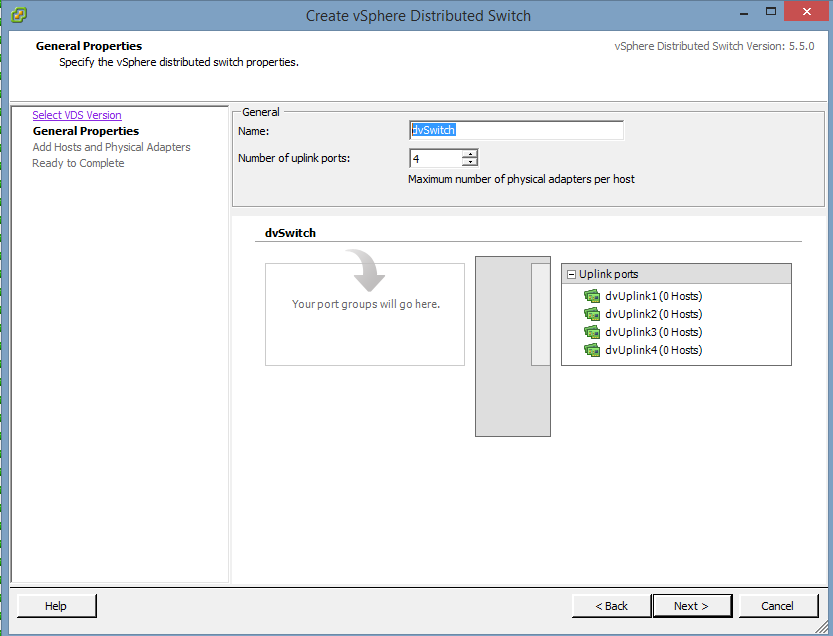
Change then name of the dvSwitch. This one I will call iSCSI, click Next
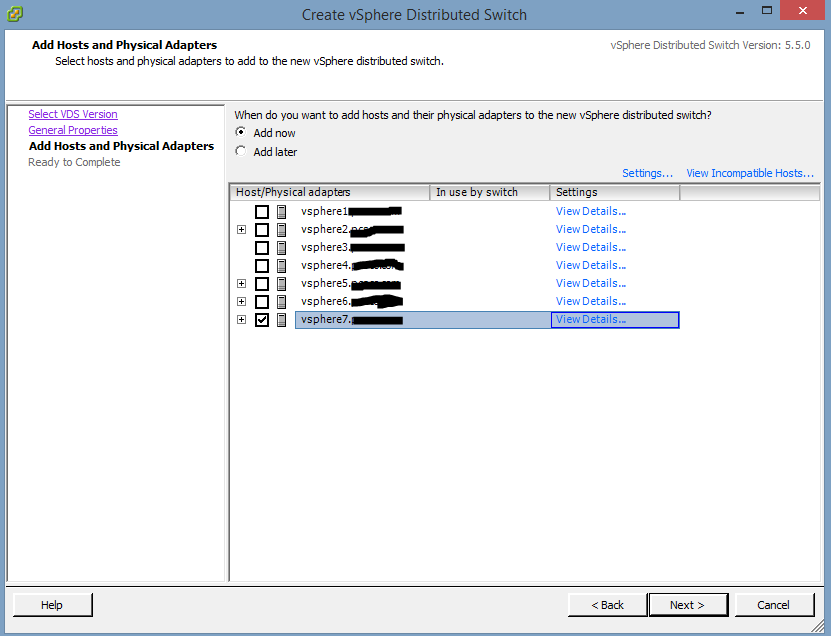
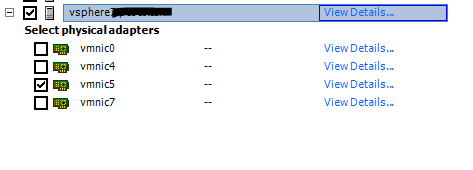
Select the NIC’s from each host you wish to add, click Next
Un-tick the Automatically create a default port group we will create these next, click Finish
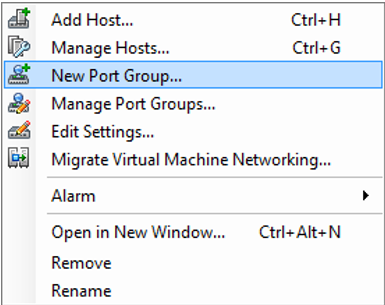
Right click on the switch and choose New Port Group
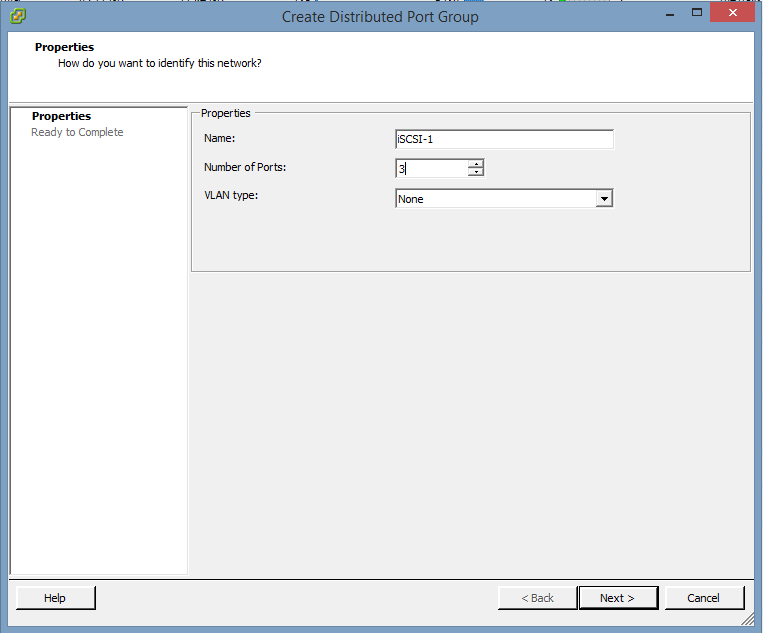
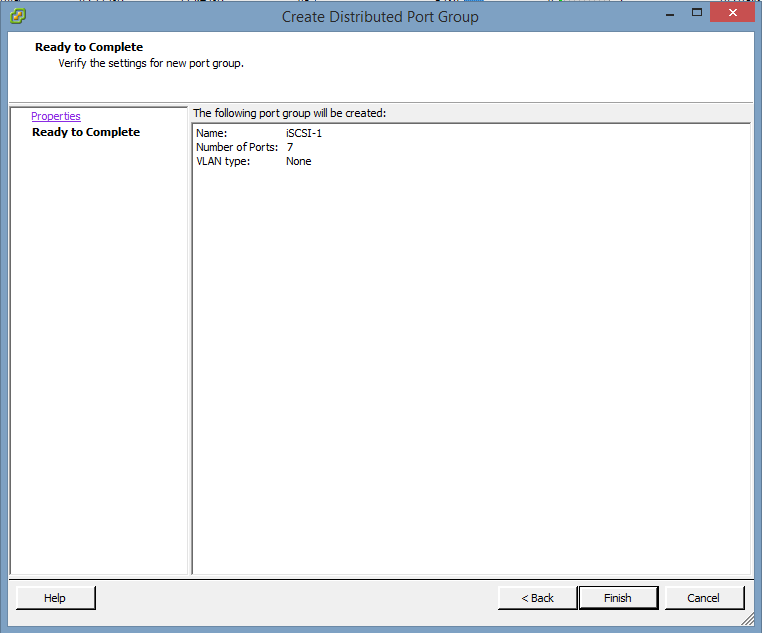
We are going to create two new Port Groups, I have gone for seven ports per Port Group because I only have seven hosts. Name your Port Group and define the number of ports, click Next
Click Finish, now repeat for every new port group required.
After the Port Groups have been setup we need to configure them.
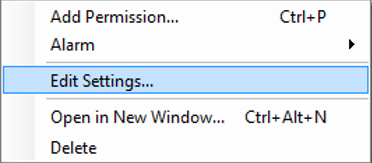
Right click iSCSI-1 and click Edit Settings
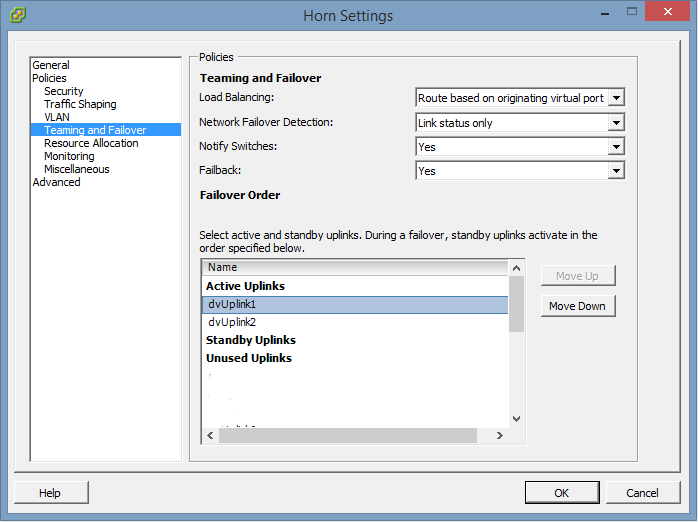
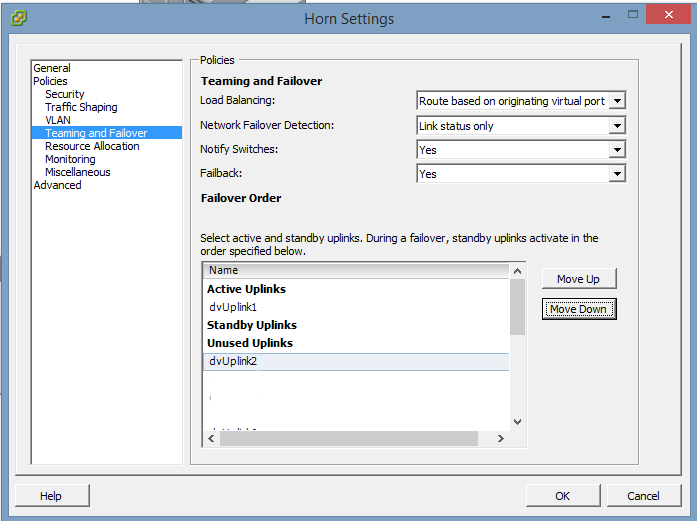
Click the Teaming and Failover setting, we can see that the two uplinks are active, for iSCSI use you’re going to need to have only a single active uplink.
This is the first iSCSI port so I will use dvUpLink1. Move the other uplinks to Unused.
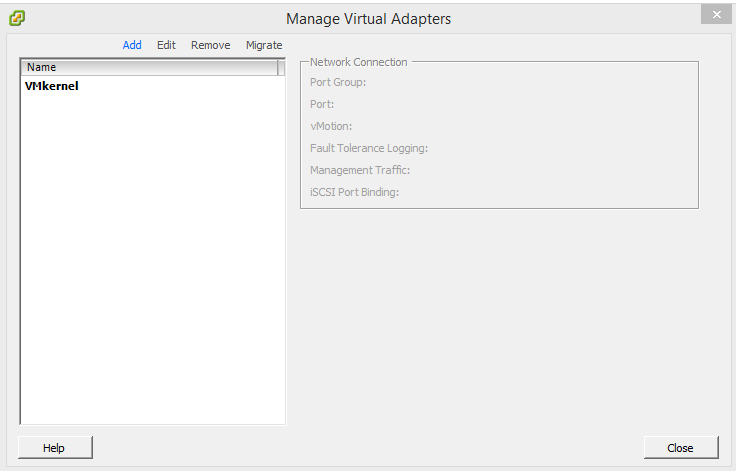
Go to Hosts and Clusters and click on your host, browse to Configuration and Networking, click on Manage Virtual Adapters
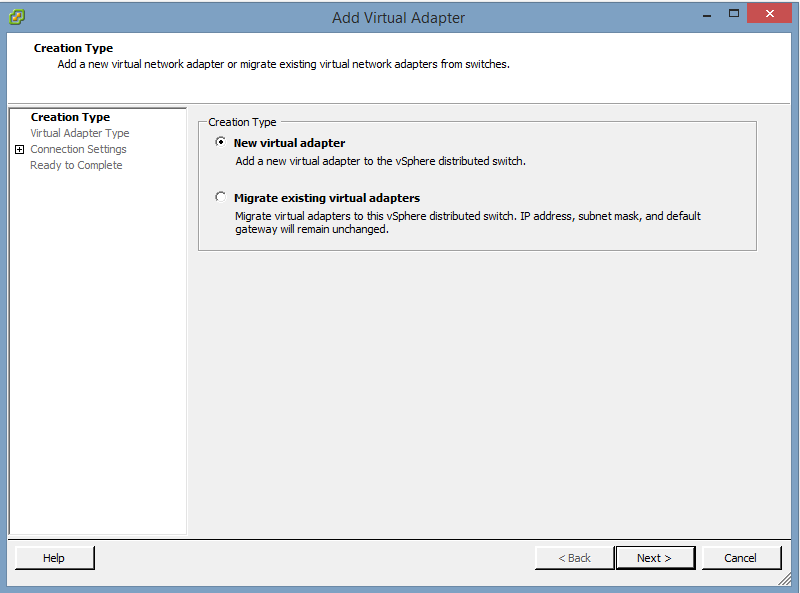
Click Add
Choose New virtual adapter, click Next
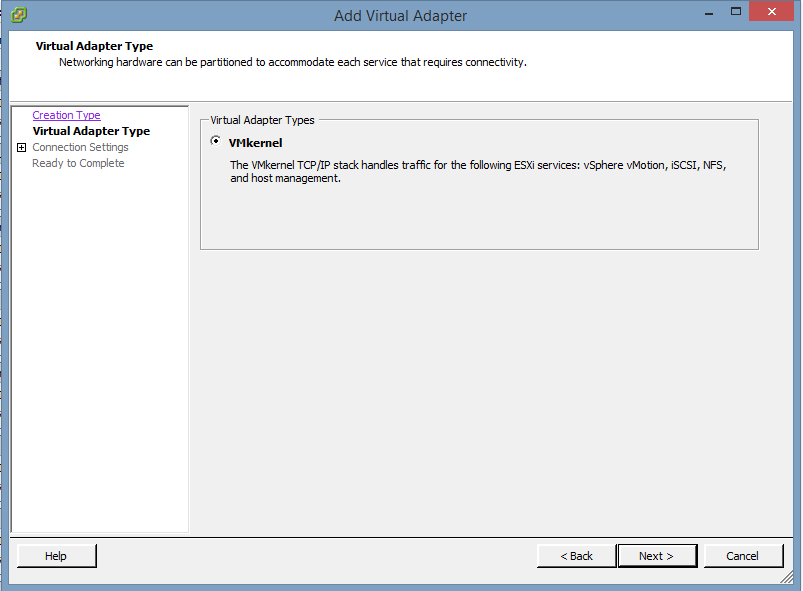
Click Next
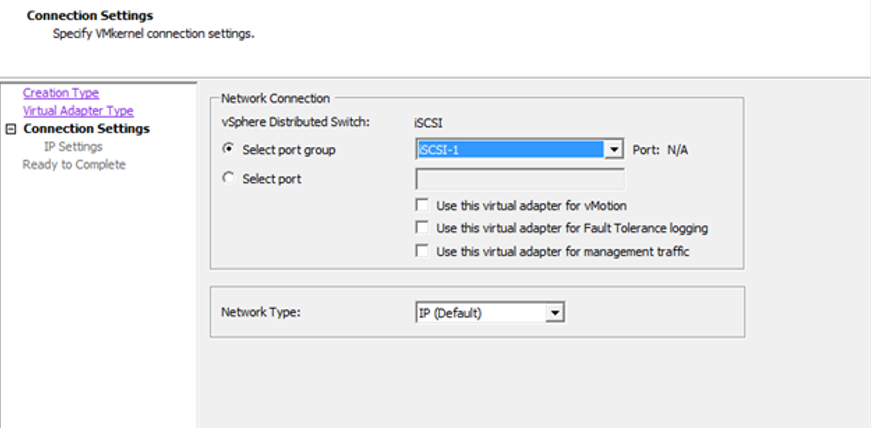
Select the required port group and click Next
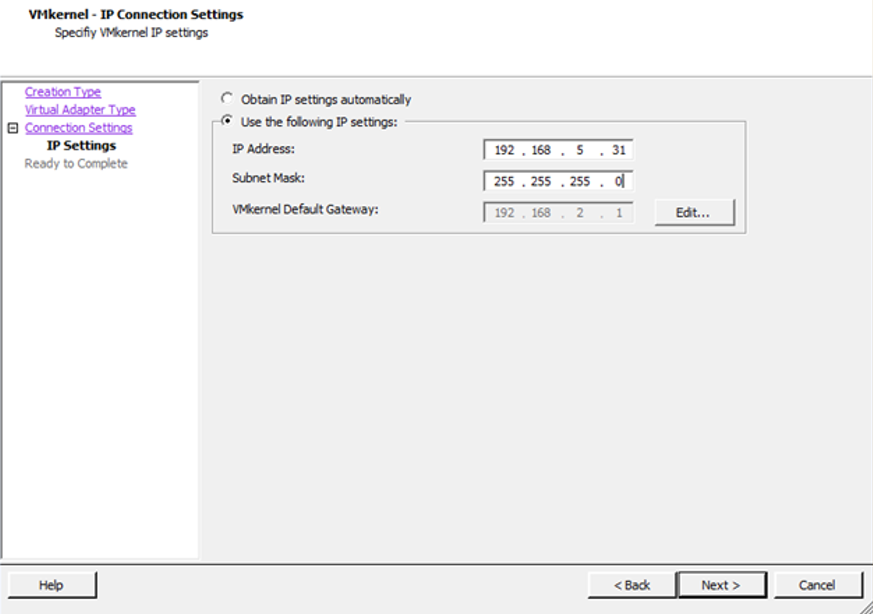
The Hosts IP address is 192.168.2.30, click Next.
Follow these same steps for your remaining. NICs.
I will be following up this post with a How to on iSCSI.
Thanks for reading.
Pingback: Recap of #vDM30in30 – Great Work Folks! @ Virtual Design Master