OpenFiler installation for my home lab
Follow the instructions on the OpenFiler site to install the software. The document can be found here.
Once you have OpenFiler installed you will be able access a web based management console.
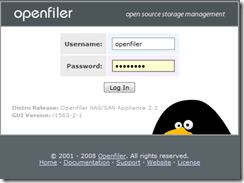
Opening a web browser and input this URL (https://<IP of OpenFiler>:446) . You will then see the following screen.
Default Username: openfiler
Default Password: password
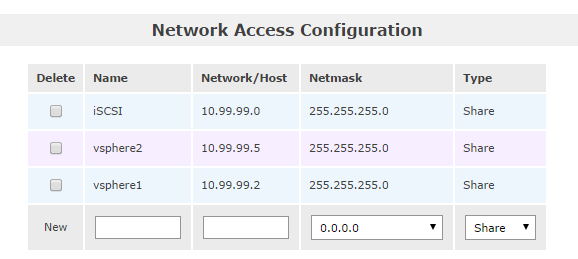
Network Access
The first thing to do is set up the ‘Network Access Configuration’. This is the ESXi host or your entire network subnet. Select the ‘System’ tab and from the ‘Network Access Configuration’ section at the bottom of the page enter in the IP address for the ESXi host or enter the entire subnet.
Make sure that the ‘Type’ is set to ‘Share’.
Volumes
There are 3 volume items. I found this confusing so I thought I would try and clarifiy:
1. Physical Volume – Assigning space on a physical disk for use in a Volume Group.
2. Volume Group – Contains Physical Volumes from which a Logical Volume will be created.
3. Logical Volume (LUN) – This is what is presented through to a server (eg: ESX).
New Physical Volume
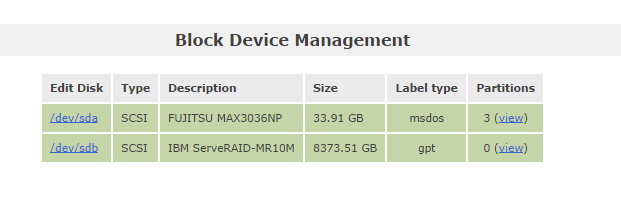
Create a physical volume which we will then present to the Volume Group. To do this select ‘Block Devices’ from the ‘Volumes section’ menu.
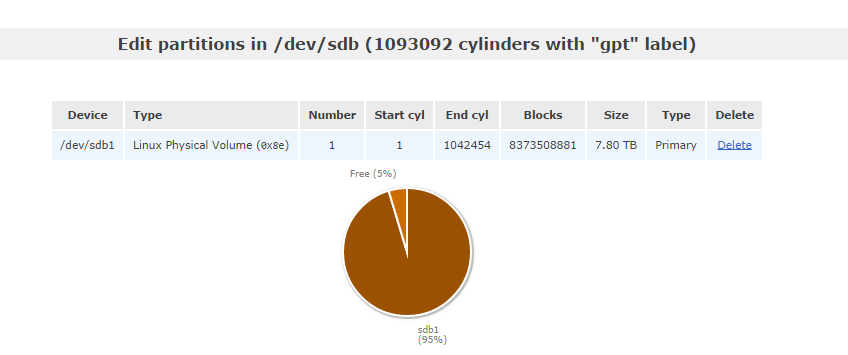
Select ‘Edit Disk’ on the hard disk you want to create this new physical volume.
At the bottom of the screen and you will see the available spare space on this disk along with some other parameters. If you are not creating a RAID with your physical volume(s) select ‘Physical volume’ as your partition type and select the ‘Mode’ as ‘Primary’.
Adjust the start and end cylinders to determine the size of physical volume and when satisfied press the ‘Create’ button.
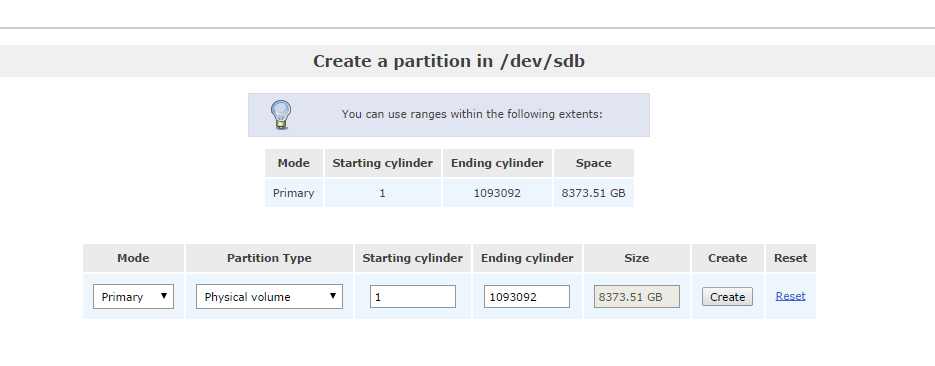
The ‘Physical Volume’ created appears on the list.
New Volume Group
Next we need to create a new ‘Volume Group’ for the ‘Physical Volume’. Click on the ‘Volumes’ tab and then select ‘Volume Groups’ from the ‘Volume section’ menu on the right hand side menu.
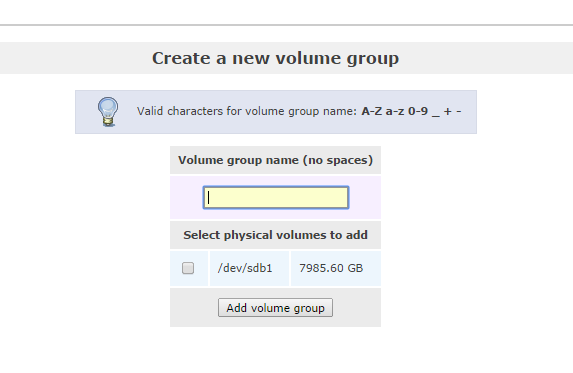
Enter in a ‘Volume group name’ and select (check box) the physical volume to which you wish to associate the Volume Group. Then press ‘Add Volume group’
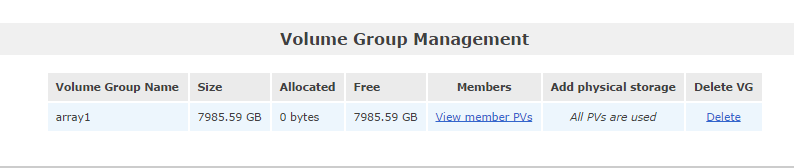
You should see a new Volume Group:
Create a Volume
Create a ‘Volume’. Click on ‘Add volume’ from the right hand ‘Volumes section’ menu.

Select the ‘Volume Group’ and press the ‘Change’ button. You are presented with the screen to determine the size of the ‘Volume’ to be created within the ‘Volume Group’.
Create a ‘Volume’ that occupies the entire space of the ‘Volume Group’. Enter in the ‘Volume Name’ and determine the size by either keying in the required space or using the slider bar. Then for the ‘Filesystem/Volume type’ select ‘block’.
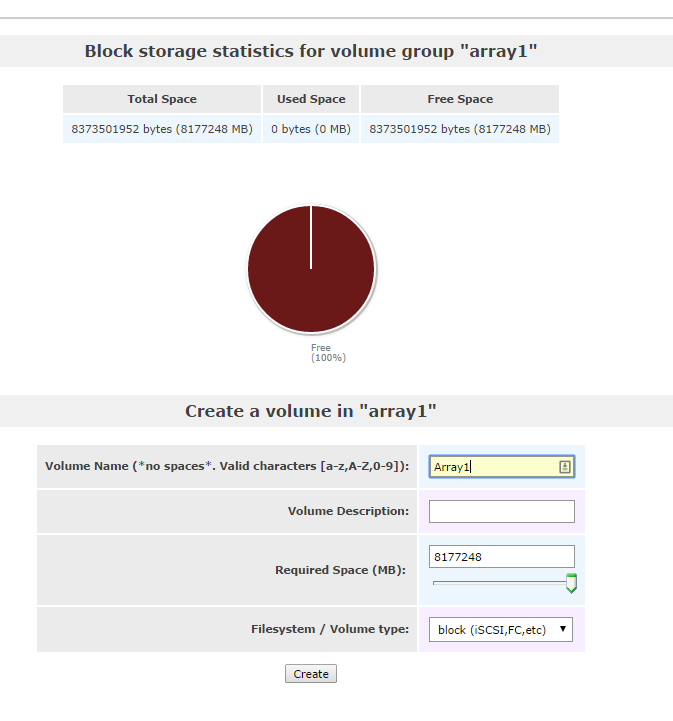
When your happy with your settings press the ‘Create’ button.
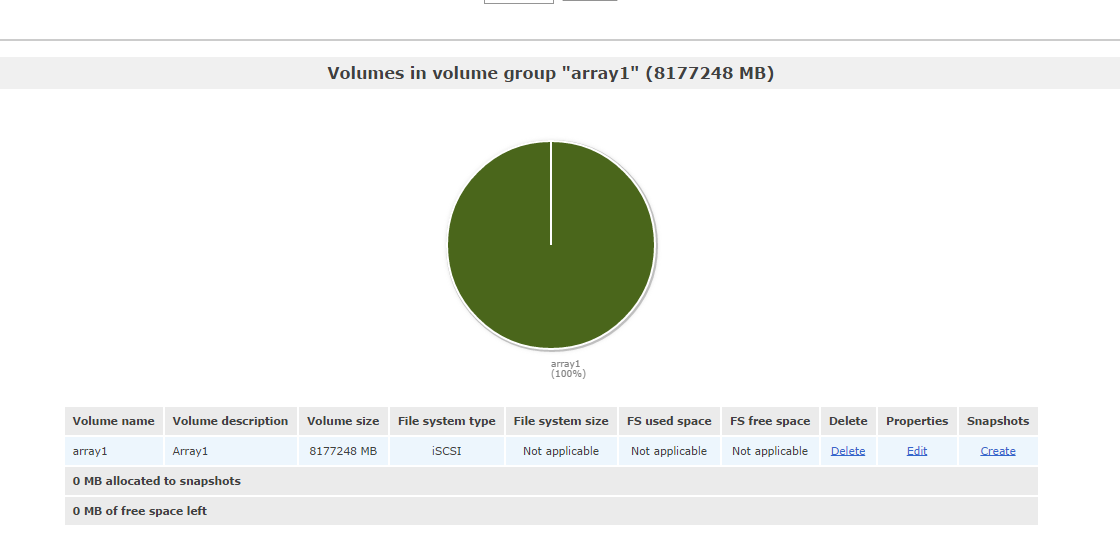
Once the ‘Volume’ is created you will see a screen with a nice big green pie chart which is indicating the amount of the ‘Volume Group’ that the volume has consumed.
Now you want to enable the connection.
Step 5 – Enable the iSCSI Target Service:
Click on the ‘Services’ tab of the main window.
Next click on the ‘Services’ tab and enable the ‘iSCSI target’. By default the service is set to ‘Disabled’.

iSCSI Target(s)
Click the ‘Volumes’ section of the OpenFiler web interface select ‘iSCSI Targets’ from the ‘Volumes section’ menu on the right side of the screen.
Create a new iSCSI target and select the first sub-tab called ‘Target Configuration’ in the ‘iSCSI Targets’ section. Keep the default ‘Target IQN’ generated by OpenFiler. Now press the ‘Add’ button.
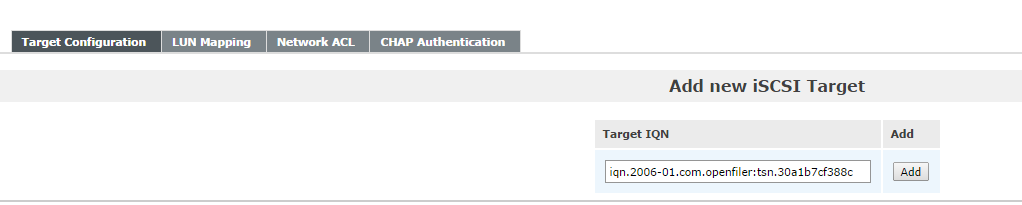
You will now be given a screen with a summary of the settings with the new iSCSI Target.
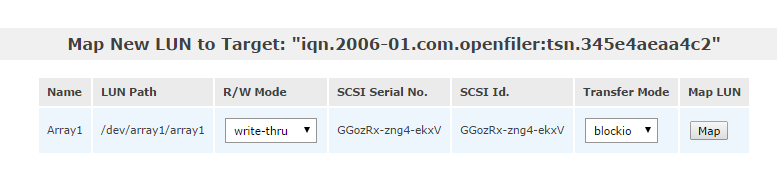
LUN Mapping
Select the ‘LUN Mapping’ tab and click on the ‘Map’ button.
iSCSI Target
Select the ‘Network ACL’ tab and from the ‘Access’ drop down list box select ‘Allow’ and then press the ‘Update’ button. This allows the IP range(s) defined in step 1 access to the iSCSI Target(s) created.

The next menu tab which is ‘CHAP Authentication’ is not required. I will not get into CHAP authentication in this blog post.
Open Filer Configuration Application configuration has been completed.
This is now a basic OpenFiler configuration up and running with a LUN ready to be added to ESX.
IMPORTANT NOTE: VMware iSCSI best practice it to separate the iSCSI traffic to a separate physical network. If this is not in your budget you can configure the iSCSI on a separate VLAN with VLAN tagging.
ESXi iSCSI Configuration
Open up the VMware vSphere Client and select the ESXi server that you want to add the iSCSI storage to. From the ‘Configurations’ tab in the right pane select ‘Networking’. You will now be presented with the networking configuration for that ESXi server.
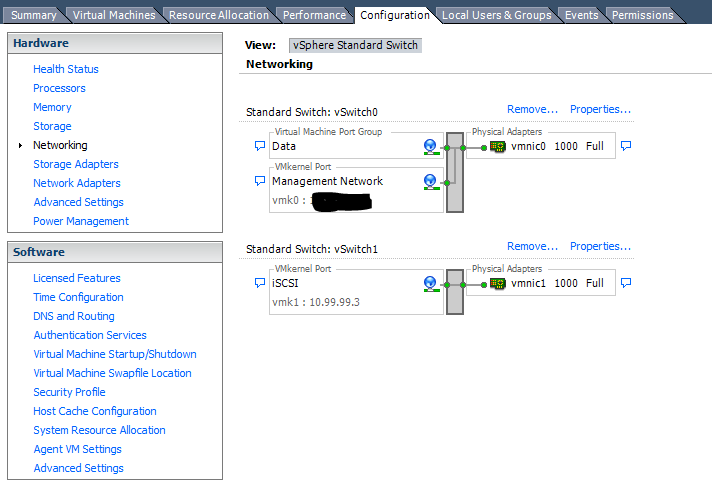
I have created a second Virtual Switch and have allocated a VMKernel port on the second NIC port (which is patched into the 10.99.99.0/24 VLAN) which I have given a 10.99.99.3/24 IP address. The is the port/IP that has been specified for iSCSI traffic.
Let us take a look at the ‘Storage Adapters’. Click on this option in the ‘Hardware’ menu.
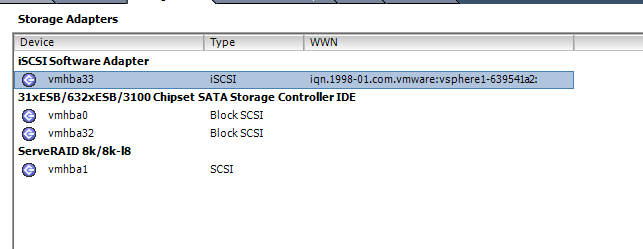
You will see that there is an iSCSI Software Adapter already in place. All you need to do is to configure and point it to the OpenFiler LUN(s).
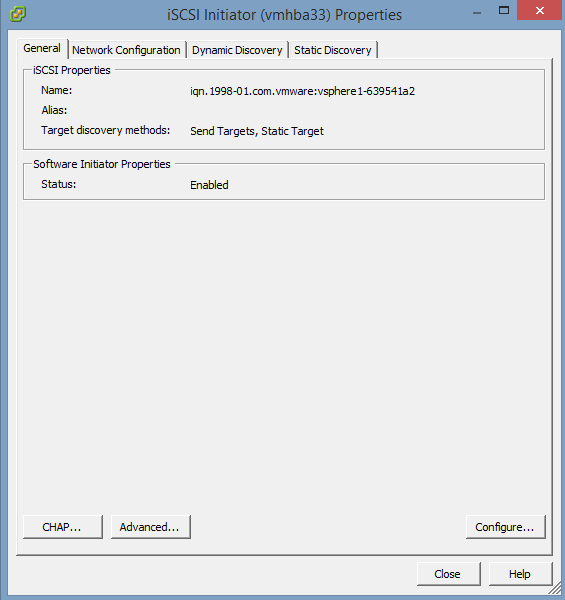
Click on the ‘iSCSI Software Adapter’ and select ‘Properties’.
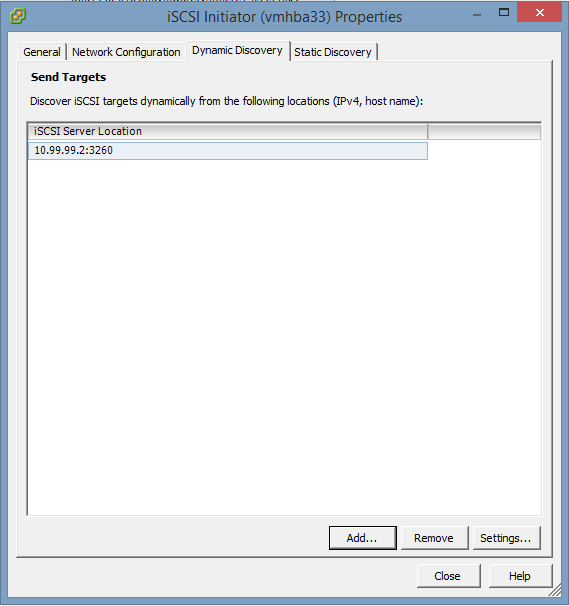
Click on the ‘Dynamic Discovery’ tab and selecting ‘Add’ we are presented with an ‘Add Send Targets Server’. This is where we’ll enter the IP address of our OpenFiler IP address.

After entering in this IP information click ‘Ok’.
When the iSCSI settings have changed you will be prompted to re-scan the host. Click ‘Yes’

After ESXi has finished its re-scan you should now see the new LUN(s).
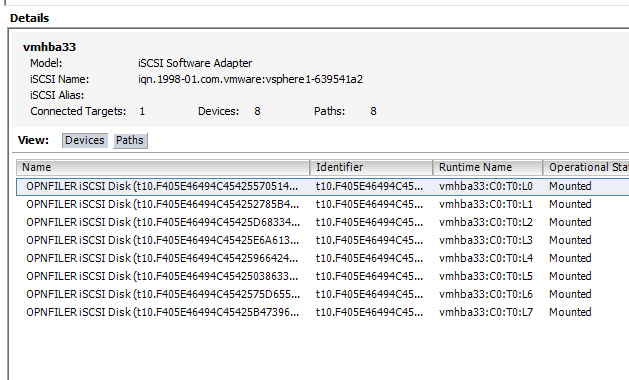
Now you are ready to start working with iSCSI and ESXi in your home environment.